How To Froth Creamer At Home: A Step-By-Step Guide For The Perfect Coffee

Do you love the taste of a perfectly frothed creamer in your coffee but don’t want to spend money on expensive coffee shop drinks?
Well, we’ve got good news for you. You can easily froth creamer at home with just a few essential tools and some simple steps.
Frothing your own creamer not only saves you money but also elevates your at-home coffee experience. Imagine sipping on a velvety latte or cappuccino while enjoying the comfort of your own home.
With our step-by-step guide, you’ll be able to create barista-quality drinks that will impress even the most discerning coffee connoisseurs.
So grab your favorite mug and let’s get started!
Key Takeaways
- Frothing creamer can save money, elevate at-home coffee experience, enhance flavor and texture of coffee, and allow for creativity in coffee art.
- Essential tools for frothing creamer include a milk frother, whisk attachment, electric mixer, frothing pitcher, and immersion blender.
- Choosing the right creamer depends on personal preference and texture preferences.
- To achieve perfect frothed creamer, use cold creamer, clean and dry frothing tool, and avoid overheating the creamer. The science behind frothing involves introducing air into milk to create a stable foam network of air bubbles surrounded by proteins and fats that create a silky smooth microfoam with balanced sweetness.
Why Frothing Creamer Elevates Your At-Home Coffee Experience
Frothing creamer is like adding a luxurious touch to your coffee, elevating it from ordinary to extraordinary.
The benefits of frothed creamer are numerous and include flavor enhancement and texture improvement.
When done correctly, the frothed creamer creates a delicate balance between the creamer and coffee flavors.
This velvety mouthfeel can make even a simple cup of home-brewed coffee rival café-quality drinks.
But the benefits don’t stop there. Frothed creamer also opens up new possibilities for coffee art, allowing you to create beautiful designs on top of your drink.
And with the versatility in coffee recipes, you can use frothed creamer in various ways, such as adding it to lattes or cappuccinos for an extra boost of richness.
Overall, frothing creamer at home adds an extra element of indulgence and creativity to your daily routine that’s hard to resist.
Essential Tools For Frothing Creamer In Your Kitchen
To get that perfect foam for your morning cup, you’ll need some essential tools in your kitchen.
Here are the top five items to make your frothing experience a success:
- Milk Frother – A handheld milk frother is an excellent tool for beginners and experts alike. It’s easy to use, affordable, and produces consistent results.
- Whisk Attachment – If you have an electric mixer at home, a whisk attachment can help create a dense froth by adding air into the creamer.
- Electric Mixer – For those who want to take their frothing game up a notch, investing in an electric mixer with multiple attachments can be beneficial. It not only creates great foam but also saves time.
- Frothing Pitcher – Designed specifically for frothing milk, this pitcher has a unique shape that helps to create microfoam consistently.
- Immersion Blender – An immersion blender is another useful tool for creating fluffy foam at home quickly. However, it may require more practice than other methods as it can easily overheat or produce uneven results if not used correctly.
By having these tools on hand and understanding which one works best for your needs, you can elevate your coffee game without leaving the comfort of your home.
Choosing the Right Creamer for Frothing
You’ll be amazed at how much a simple change in creamer can transform your morning routine.
Different types of creamers have varying frothing properties, making it essential to choose the right one for your coffee.
For those who prefer dairy options, whole milk and half-and-half are excellent choices due to their high fat content.
These creamers produce a rich and creamy texture that’s perfect for cappuccinos or lattes.
If you’re looking for non-dairy alternatives, there are plenty of milk alternatives available in the market today.
Almond and oat milk are popular choices among coffee enthusiasts. They have lower fat content than dairy-based options but still provide enough protein for a good froth.
Flavored options are also available if you want an extra kick of flavor in your coffee.
Additionally, budget-friendly choices like coconut milk or soy milk can also produce satisfactory results when frothed correctly.
Ultimately, choosing the right creamer boils down to personal preference and texture preferences.
Step-By-Step Process: How To Froth Creamer At Home
Ready to transform your morning routine with perfectly frothed creamer? Let’s dive into the step-by-step process, starting with heating up your chosen creamer.
Here’s what to do:
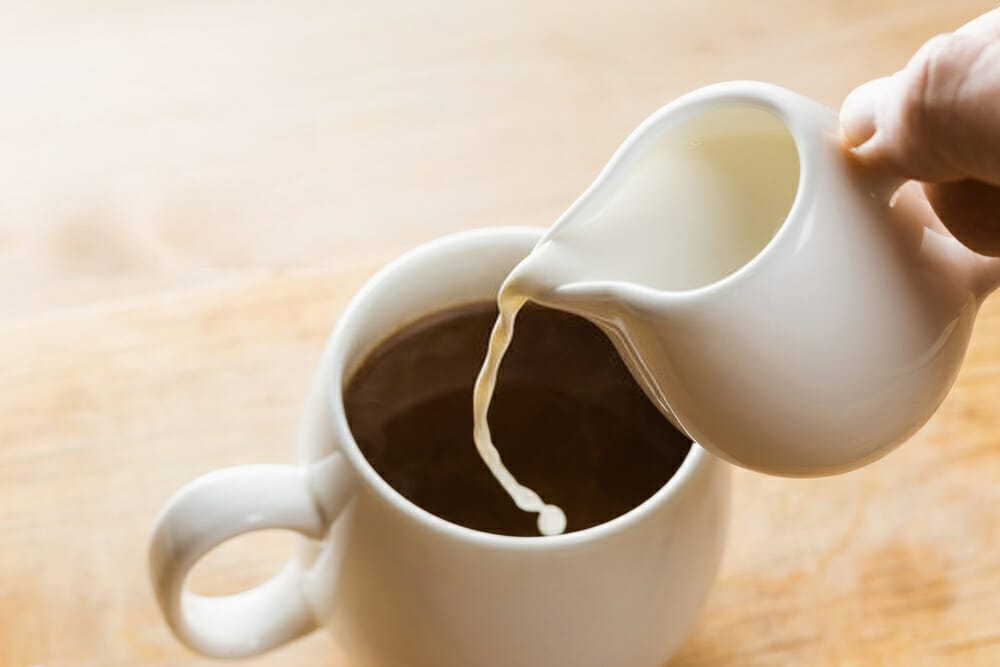
- Pour your desired amount of creamer into a small saucepan.
- Heat the creamer over low heat until it reaches a temperature between 140°F-150°F.
- If you’re using flavored creamer, add any additional spices or sweeteners at this point.
- Remove the saucepan from heat and let it cool for a minute before moving on to frothing.
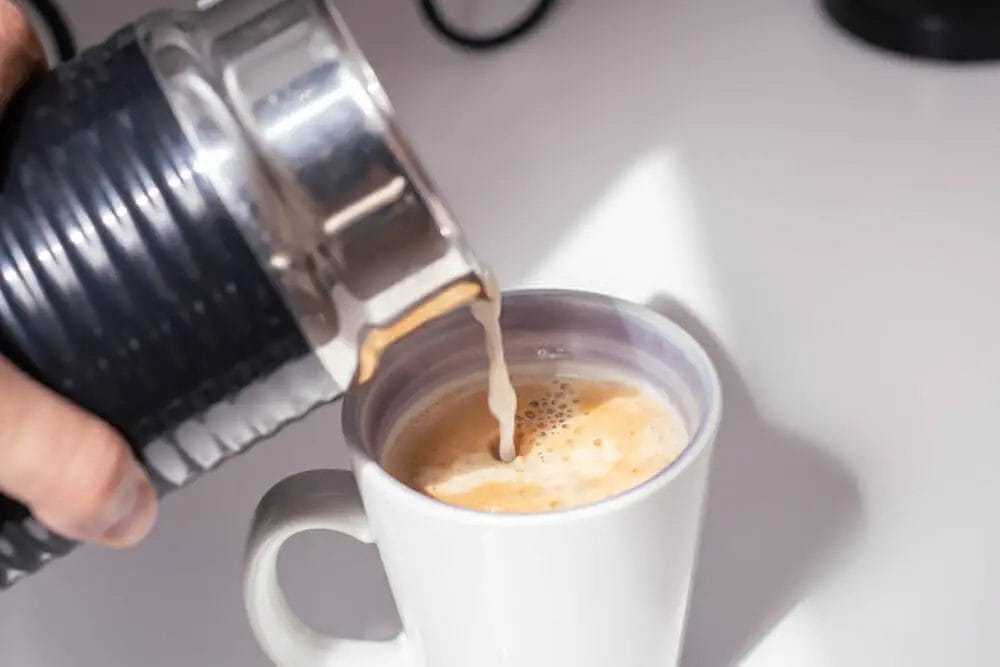
Now that you’ve heated up your creamer, it’s time to move onto frothing techniques.
Whether you’re using dairy or milk alternatives, there are several ways to create perfectly frothed creamer for your coffee.
You’ll need a frothing pitcher and either an electric milk frother or manual hand-held whisk to get started.
Don’t forget that with practice comes the ability to create fun shapes and patterns in your foam for added flair – known as ‘froth art.’
So go ahead and experiment with different flavors, techniques, and equipment until you find the perfect combination that gives you both delicious taste and visually appealing foam!
Tips and Tricks for the Perfectly Frothed Creamer
Get ready to take your morning cup of joe to the next level with these expert tips for creating a velvety, smooth foam that will elevate your coffee game.
When it comes to frothing creamer at home, best practices include using cold creamer straight from the fridge and a frothing tool that’s clean and dry.
The optimal temperature for frothing is between 140-150 degrees Fahrenheit, so make sure not to overheat your creamer.
One common mistake when frothing is not allowing enough air into the mixture. To avoid this, hold the whisk just below the surface of the creamer and move it in circular motions while gradually bringing it closer to the surface.
If you don’t have a frothing tool or want an alternative method, you can also use a mason jar with a tight-fitting lid and shake vigorously until foamy.
Other flavor options include adding vanilla extract or cinnamon powder before frothing.
And if you encounter any issues with your foam collapsing or separating from the liquid, troubleshooting tips include checking temperature consistency and adjusting whisking techniques.
Understanding the Science of Frothing: Why It Makes Your Coffee Better
Understanding the science behind incorporating air and disrupting milk proteins and fat globules when frothing can enhance your coffee experience by creating a light, creamy texture that elevates the overall sensory experience.
The science of frothing involves an aeration technique that introduces air into the milk, causing it to expand and create tiny bubbles.
These bubbles increase the surface area of the milk, which helps to dissolve coffee’s aromatic oils and distribute them evenly throughout your drink.
The foam stability of frothed creamer also plays a crucial role in improving your coffee experience. Foam stability refers to how long the froth will last before collapsing or breaking down.
The emulsification process that occurs during frothing creates a stable network of air bubbles surrounded by proteins and fats, which resist deflation for longer periods.
This makes sure that you have a velvety mouthfeel throughout your coffee drinking experience.
Understanding this science behind frothing allows you to appreciate why every barista takes pride in their craft of creating silky smooth microfoam with just enough sweetness to balance out any bitterness from coffee beans.
FAQS
Final Thoughts
In conclusion, frothing coffee creamer at home brings a unique experience to coffee drinkers’ lives.
Although powdered creamer may not be the go-to choice for most, exploring the myriad of ways to froth creamer is a fun journey filled with delightful discoveries.
Our step-by-step guide has shown that whether you prefer to froth milk or use non-dairy alternatives, the process is accessible and enjoyable for all.
With techniques such as heat creamer to the ideal temperature, using an immersion blender or milk frother, no warm creamer will escape your grasp ever again.
Say goodbye to mundane mornings and elevate your coffee game with creamy milk foam.
Embrace your inner barista and enjoy the satisfaction of creating café-worthy beverages within the cozy confines of your own kitchen.
Cheers to your frothing victories and memorable coffee experiences! ☕🎉
