All About AeroPress

The Aeropress is the ultimate coffee brewing device for the countertop.
It produces a rich, full-bodied cup of espresso without any fuss. In just a few seconds, you can brew a high-quality espresso, and you can do it almost anywhere.
If you have ever brewed coffee using an Aeropress, you have experienced coffee that is far superior to what you are getting out of your regular coffee maker.
With the help of an AeroPress coffee maker, you can brew a perfectly delicious cup of coffee every time with less effort. Moreover, it’s super easy to use, and you will never need to spend $50 on espresso equipment!
So, in this article, we will learn all there is about the Aeropress, its history, benefits, how to use it, extra accessories you can buy with it and more!
To start, let’s find out about Aeropress itself.
About Aeropress
The Aeropress is a coffee machine that works very differently from other devices on the market due to its unique tube design and handling steam pressure from a hot water chamber.
It is notorious for being a coffee maker that produces the best-tasting coffee, especially espresso-style coffee. It brews up coffee pretty quickly and is simple to use.
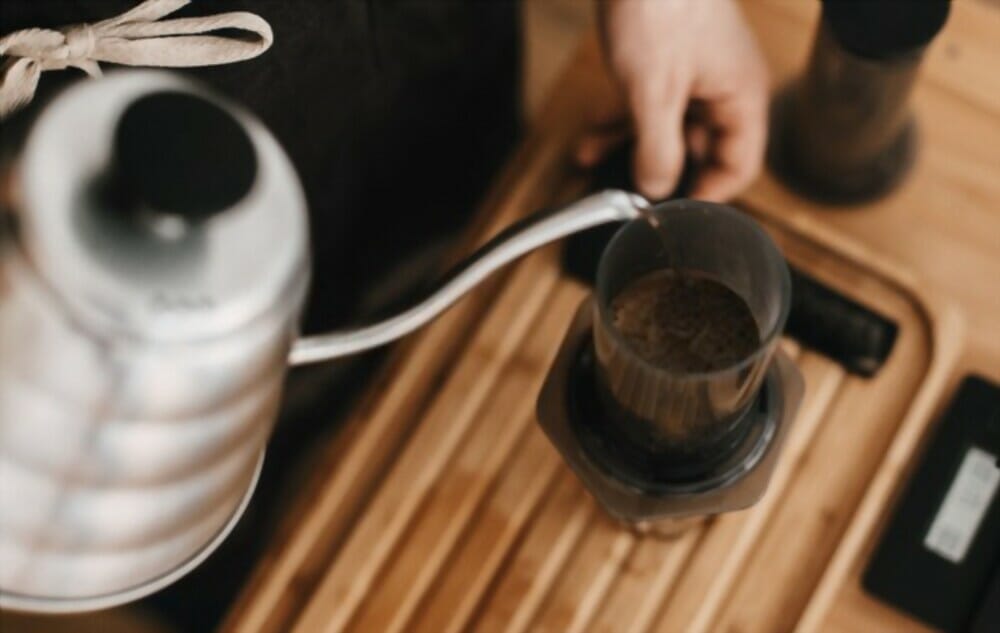
The pour-in method of making the coffee consists of boiling water on the grounds and then pushing it down into them without pulling it back up to create a vacuum. It pulls the pressure into the coffee and makes it so great.
All you need to make your Aeropress coffee is a small plastic funnel, a loosely packed bundle of coffee grounds, a measuring spoon, some hot water, and a filter.
History of Aeropress
Aeropress is an intriguing little coffee device with a relatively short history.
The Aeropress was invented by Alan Adler, an engineering professor at Stanford University and inventor.
In 2005, Adler brought his new invention to the first trade show he attended for the company he later started selling the device through.
He sold 10 in a week, and today, the Aeropress is a favourite among coffee lovers and even those who prefer American-style coffee.
He has since released a second version of the Aeropress, as he wanted to create a more sophisticated and professional device.
In addition, Adler explains that he tried to make the machine even more economical and easy to clean, and he succeeded in doing so with his second invention.
Today, Aeropress continues to be a best-selling coffee maker, rivalled only by the French press. It costs less than $30 and is made entirely of plastic.
The AeroPress is built with a mid-century modern aesthetic that looks sleek on your kitchen counter and can fit just about anywhere.
The Invention: Although the process of brewing coffee in the AeroPress has been fine-tuned, the actual invention is still a mystery.
However, there was considerable interest in Adler’s work at Stanford, and some of his engineering students may have played a role in developing the device.
Aeropress Review
We have reviewed the device, and we can tell you that the coffee it produces is excellent. The Aeropress brews up a very flavorful and rich cup of coffee, and the coffee it makes has a beautiful dark colour. You can read the review here (Article 2349).
How to use the Aeropress
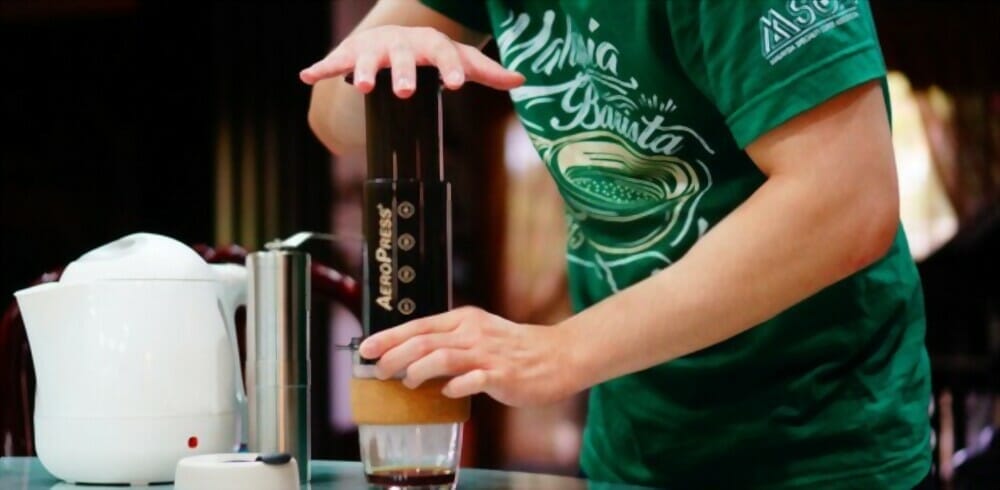
There are three methods of brewing the coffee. The first way is referred to as the standard or proper method. The standard approach is the most obvious way to operate AeroPress when it comes to AeroPress.

With the base and filter at the bottom, it's ready to prepare a cup of coffee. The other procedure is called the inverted method.
The inverted method results in a longer brew time but is considered by many to produce a good blend. The third method for making Aeropress is to brew a strong coffee and add extra water after brewing. It is known as bypassing, and World Aeropress Championship champions widely utilize it.
Things you will need
- Aeropress
- Aeropress Filters
- Burr Grinder
- Scale
- Kettle (either gooseneck kettle or regular kitchen kettle)
- A mug
- Spoon for stirring
- Coffee beans
The Standard Method
Step 1: Insert the filter into the cap, screw the lid onto the brewing chamber, and moisten by pouring hot water through. Place a warmed brewer on a tared scale with the cap down over your drinking vessel.
Step 2: Pour 16.5g of coffee into the brewing chamber and tap the side of the Aeropress to flatten the grinds.
Step 3: Pour 40ml of water over the coffee grinds, carefully wet all of them. Wait 25 seconds before proceeding.
Step 4: Stir it after the 25 seconds are up.
Step 5: Immediately add another 210ml of water, increasing the total weight to 250ml. Once, stir the mixture.
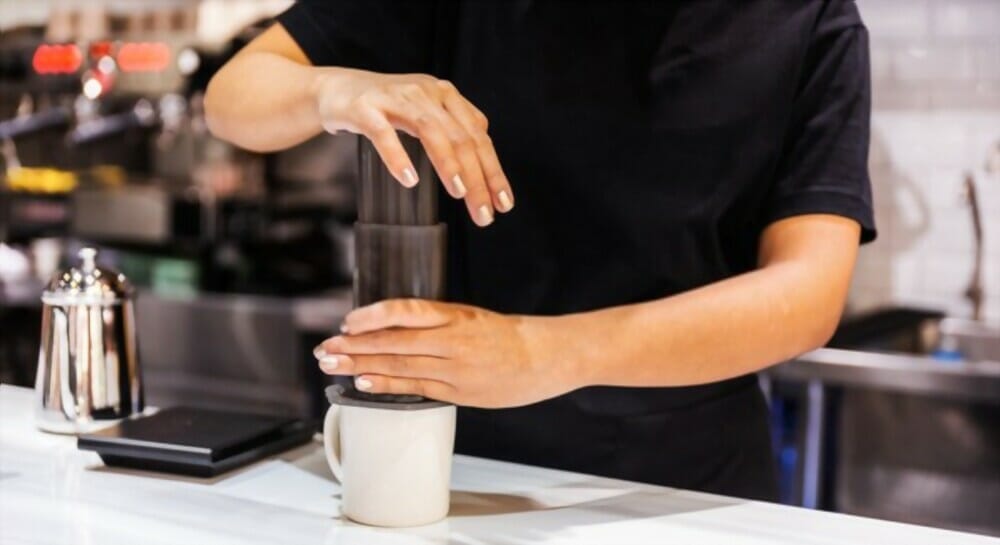
Step 6: Immediately set the Aeropress on your mug. Insert plunger and slowly plunge. The dive should take one minute.
Stop diving when the slurry level rises slightly above the bottom of the Aeropress. The Aeropress should still have about 50ml of liquid in it.
Step 7: Remove excess liquid and used grinds, clean the Aeropress, and enjoy.
The Inverted method
Step 1: Insert the paper filter into the filter cap and wet the filter and the brewing chamber with hot water.
Step 2: Assemble the Aeropress by pressing the seal slightly into the brewing chamber and placing it on a tared scale with the brewing chamber facing up and the filter cap not attached.
Step 3: Add 17g of ground coffee. To flatten the grinds, tap the side of the Aeropress.
Step 4: Pour 30g of hot water over the coffee, making an effort to saturate all the grinds. This is made more accessible if you have a gooseneck kettle. Wait 30 seconds before proceeding.
Step 5: After 30 seconds, immediately add another 220g of water to make a total of 250ml. Wait one more minute.
Step 6: Once the minute is over, screw the filter cap with the filter onto the open top of the brewing chamber. Place your mug upside down on top of the brewing cap. Quickly flip with one hand on the mug and one on the Aeropress.
Step 7: Apply pressure to the plunger to slowly plunge the Aeropress. You should try to dive it slowly so that it takes around 30 seconds to plummet until you hear the hiss start.
Step 8: Toss out the used grinds, clean the Aeropress, and enjoy your brew.
Does the aeropress inverted method produce a better result? In our Aeropress Inverted Method article we compare the two brewing methods in a detailed way.
The Bypassing Method
Step 1: Assemble the Aeropress with a slightly pressed seal and the filter cap not attached to the brewing chamber.
Step 2: Place 35g of coarsely ground coffee into the brewing chamber and pound the side of the Aeropress to flatten the grinds.
Step 3: Pour in 150ml of hot water over 15 seconds. Mix for 20 seconds.
Step 4: Screw the filter cap and filter onto the open top of the brewing chamber. Wait for one minute.
Step 5: Place your mug upside down over the brewing cap. Quickly flip with one hand on the mug and one on the Aeropress.
Step 6: Plunge slowly for about 30 seconds. Push yourself as far as you can.
Step 7: Remove the Aeropress from the mug and add another 100ml of water to the brew.
Step 8: Stir the brewed coffee and taste it, then add up to 40ml of water to taste. Have fun!
Other Aspects Important for the Aeropress
A few other things are essential to the brewing method and the water levels. Let’s look at some things you should consider.
Filters
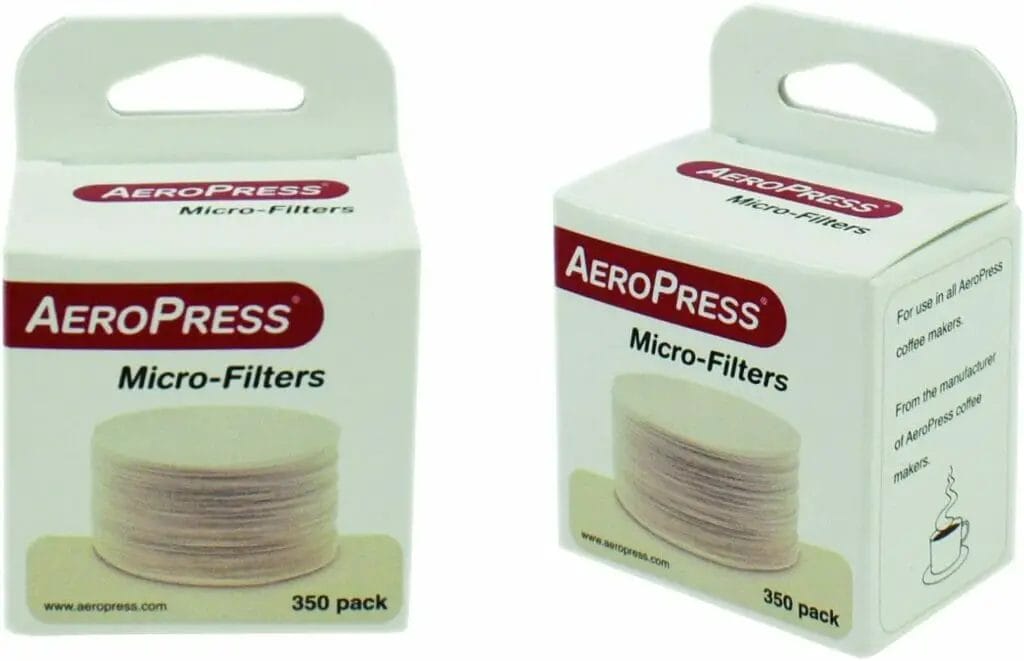
One of the most crucial decisions for Aeropresses is which type of filter to use. The Aeropress generally comes with 350 paper filters, but you may optionally purchase metal filters as well as more precisely crafted paper filters.
Paper filters produce a cleaner, clearer cup of coffee, but metal filters enable more coffee oils and grit to enter the cup and add body.
You can also use two paper filters stacked together, which will help remove some of the oil and grit that can make the brew bitter.
Stirring
Another thing you’ll notice with various Aeropress methods is some stirring. Essentially, stirring causes agitation.
Moving the grinds helps avoid channelling and ensures that the water extracts evenly from all grinds. It's the same idea as pouring in concentric rings while brewing a pour-over.
In general, the more significant agitation or stirring, the faster and more even the extraction.
Hissing
You may have observed that when you approach the conclusion of your press when plunging the Aeropress, you may hear the hiss of air release. Again, this can have an impact on the flavour of the cup.
Pushing down as far as you can to the end of the hiss will result in more oils and a fuller-bodied cup, akin to a French Press. As a result, many users quit pressing as soon as they hear the hiss begin.
On the other hand, it results in a clean cup with fewer bitter overtones from the final press. So, once again, it is up to you, although we prefer to stop at the beginning of the hiss.
Bloom
A tiny amount of water is poured over the coffee grinds and left for 25-45 seconds. The purpose of blooming is to allow the coffee grinds to expand and carbon dioxide bubbles to burst.
Interestingly, blooming also enables the coffee grinds to separate from each other. It will allow the water to penetrate the entire mass of coffee easily and quickly, extracting all of the flavours.
Benefits of using the Aeropress
There are so many benefits to using the Aeropress. The result is a cup of coffee that tastes like nothing else you’ve ever had, and it’s so simple!
The Aeropress is solid, buildable, and fast. You can make coffee in your average flat-bottomed mug in just a few seconds.
We usually get a couple of cups out of one Aeropress. There are no try-overs or other errors you may make by pushing too hard on the plunger or with bloom settings that don't work for you.
The Aeropress is also clean. We have come across mugs with fabulous oils and sediment that make the coffee taste like nothing but grit using so many pour-over methods.
The Aeropress produces a bold, strong cup of coffee without all of the nasty stuff. It’s an amazingly consistent method, too.
To learn more about its features and benefits, click here (2349).
Aeropress compared to Other Brewing Methods.
Now, let us see how Aeropress compares to other brewing methods like french press, pour over, espresso, nespresso.
aeropress vs french press
aeropress and french press are very similar in the way they make coffee. both use ground coffee and water, which are mixed together and then pressed.
however, some say the aeropress makes less bitter brew than french press. this is partly due to the fact that in french press, you can hold the grounds at the bottom of your cup for several minutes, which means more bitter acids get released and a stronger taste.
For detailed comparison read our article Aeropress vs French Press, which compares various aspects of both brewing methods.
Aeropress vs Pour Over
aeropress and pour over (drip) coffee makers are pretty similar. both of them are popular methods you can use at home to make great quality coffee.
however, there is a slight difference between the two in terms of taste and appearance. when you use an aeropress, you get a nice foamy crema on top of your cup, which gives your brew an elegant look and enhances the aroma. However, in a pour over method, there is no crema.
To learn more about the differences between aeropress and pour over, check our article Aeropress vs Pour Over.
aeropress vs espresso machine
aeropress and espresso machines are pretty similar. both have a chamber where the water is heated. coffee grounds are then placed in the chamber and ground coffee is extracted by forcing hot water under pressure through the chamber, creating a richly flavored espresso.
however, aeropress creates drier, smoother cup of coffee than espresso machine because it uses superior technique. espresso machine uses pressure of 9 bar, whereas in aeropress, it is usually around 7 bars, which produces a stronger brew but less body.
For more detailed comparison read our article Aeropress vs Espresso Machine, which compares various aspects of both brewing methods.
aeropress vs nespresso
nespresso and aeropress are very different. Nespresso is a capsule system that can only be used with nespresso capsules. They use pressure to extract the coffee from the capsules, which is then poured into your cup.
aeropress, on the other hand, is a manual method, which means it can be used with any ground coffee. Aeropress also uses pressure to extract the flavor from the coffee beans. The result is a richer and more robust cup of coffee.
To learn more about the difference between aeropress and nespresso, check our article Aeropress vs Nespresso.
Tips & Techniques
To make the perfect coffee brew from your Aeropress machine, you must know the proper tips and techniques to follow. So, here are a few tips:
To achieve the ideal water temperature, use the microwave.
Aeropress instructions call for a water temperature of 175 °F, which can be challenging to obtain without a temperature-controlled kettle. There is, however, a remedy, and all you need is a microwave and a thermometer.
Then, you can re-heat the water in a kettle or teapot to 175 °F. With this technique, you will have the ideal temperature for brewing coffee with an Aeropress.
Brew In Advance And Dilute Later.
The classic Aeropress formula produces a robust, espresso-style coffee. So, for a standard American coffee, you’ll need to dilute it with hot water, which anyone on a tight schedule might benefit from.
You can brew your Aeropress espresso shot whenever you want and set it aside to cool to room temperature. Then, when you’re ready for a cup of coffee, dilute it with hot water to the perfect drinking temperature.
Gently press.
The most important advice from inventor Alan Adler to Aeropress users is to press gently for the best coffee.
Gently pressing produces the quickest pressing, which is the tastiest. On the other hand, hard-pressing compresses the ground beans, slowing the water flow and making a more bitter brew.
To stop the drip, apply backpressure.
When you pour water into your Aeropress, it will start to drip. This is because you want the water to be pushed through under pressure for the best extraction. To halt the bubble, insert the plunger into the body.
It creates back pressure, which prevents the flow of water. You can also avoid drip by brewing with an inverted Aeropress.
Use Warm water to pre-rinse your Aeropress.
To prepare your Aeropress for brewing, give it a good rinse with warm water. You can even conduct a blind press without using any coffee grounds if you have enough time.
It heats the Aeropress and moistens the filter. It is an excellent suggestion for nearly any sort of coffee machine. It ensures that your brewed coffee is hot and removes any potential brewer off-tastes.
For brewing, use filtered water.
Now that high-quality coffee beans are more widely available, coffee fans are becoming more conscious of the water quality of brewing coffee.
To get the best tasting brew out of your Aeropress, use filtered water rather than water directly from the faucet.
Grind Your Beans Correctly.
Grind size counts with the Aeropress, just like it does for any other coffee machine, so take your time dialling it in. A medium-fine grind is preferable, more delicate than a typical filter coffee but coarser than espresso.
If you grind your coffee too fine, it may come out over-extracted, producing a bitter beverage. The coffee will under-extract if the grind is too coarse, resulting in a weak and watery cup.
Do Not Plunge The Entire Length.
It may be tempting to push the plunger to the bottom to extract every last drop of flavour; you’ll be doing yourself no favours.
You're most likely over-extracting it, which causes the coffee to be bitter. The brew is ready when the Aeropress emits a hissing sound.
Fill the Aeropress container only halfway.
If you fill the Aeropress container to the top with water and then add the filter and cover, it will overflow. It will ruin your coffee and put you at risk of scalding from the hot water.
You don’t want to begin your day with burned hands and no coffee! Instead, make a concentrated coffee shot with less water in your Aeropress, then dilute it with warm water to your preferred brew strength.
Use the Inverted method
Inverted brewing is a technique you can use to make coffee with an Aeropress that’s easier on your stomach. The idea is to let the water drip through and out the top instead of through the bottom.
Doing this will prevent pressure from building up in your mug, resulting in a cup of coffee that's stronger and more flavorful.
The downside is that it won’t steep as long as conventional brewing, so you’ll have to dilute it with hot water before serving.
Aeropress Alternatives
Check out this article for those who want to see more Aeropress alternatives.
Accessories for the Aeropress
The Aeropress is a versatile tool, and its simple design makes it ideal for travel. With the right accessories, you can make your brewing kit to take with you anywhere you go. To check them out,
Why Should You Use The AeroPress Coffee Maker?
There are more reasons to use the AeroPress Coffee Maker than not to use it. It’s much easier than a French press and effortless to clean. It gives your coffee a cleaner taste and doubles as a portable device.
Because of its small size can fit into just about any cup holder in the car, making it the perfect travel companion for commuters.
It’s ideal for beginners and people who don’t have much coffee experience. It produces a flavorful drink every time, so you can be sure that you’re making the best tasting coffee possible.
What is special about an Aeropress?
The AeroPress coffee maker is a particular conical pipe. It produces coffee that has the taste of the espresso, but it is cheaper and more convenient than a traditional espresso machine.
Because of its special-shaped cone, it creates pressure to brew the most flavorful coffee. The filter of the AeroPress can be cleaned quickly and easily, so you don’t need to worry about brewing your next cup.
Is Aeropress better than Nespresso?
A proper cup of coffee requires more than just a good-quality coffee machine, it also needs a tool that can be conveniently used. Nespresso is an example of making a good and affordable device, but they are not perfect.
Aeropress is superior in extracting flavor from the beans. It allows you to choose the type and quality of the beans that you want to use to make your cup of coffee. Aeropress is also easy to clean and maintain.
How long does AeroPress last?
The Aeropress is a sturdy, portable and easy to clean coffee maker. The materials used to make it last a long time. However, the rubber seal that is used between the housing and the filter must be treated carefully to avoid leakage or damage.
It is important because this material could be reuse regularly.
What kind of coffee does AeroPress make?
The AeroPress coffee maker can make a variety of coffees. Using the right beans, you can make a cup of coffee that’s strong enough to wake you up in the morning, fresh and full of flavor.
It also has various accessories that are available to give you even more versatility in making coffees. You can get as many Aeropress alternatives as your budget allows.
Does AeroPress produce crema?
The Aeropress makes a great cup of coffee and it’s a good starter model to make your own coffee, but it isn’t the best for making espresso. It is a brewing method that will give you a good cup but not crema.
The reason that the taste of crema is very important in making the perfect espresso is that this crema provides layers which are already tasted when drinking an espresso machine.
AeroPress has many advantages over other brewing methods, with certain drawbacks as well.
How many times can you reuse AeroPress filters?
AeroPress filters are made from a plastic, which is more durable than coffee filters. However, the rubber seals don’t last long. The rubber seals can be reusable but when it comes to the coffee filter, you need to be careful not to put it in the dishwasher since it could ruin them.
Why is my AeroPress sticky?
You need to treat the rubber seal right and give it the right care. When you clean it, you should make sure not to use soap and wash it with a sponge or a soft cloth.
It’s important to take good care of your AeroPress coffee maker and your brewing will go well as long as you know how to use it properly.
How do you make AeroPress taste better?
You can add more coffee to the filter, but be careful not to push too much so that it won’t drip in the cup. Also, when pouring the water slowly, you’ll know it’s well brewed.
Are there different models of AeroPress?
There are different sizes of the AeroPress coffee maker. Each model has its own uses and benefits. They all deliver good quality coffee but some extra features.
For instance, AeroPress 2 is used for making smaller amounts of coffee than an AeroPress 1. It’s also handy if you want to make the brewing process for friends or colleagues without having to make more than one cup at a time.
Can you use aeropress for tea?
Making coffee with an AeroPress is better than making coffee with any other methods. You can also use coffee makers to make tea as well, but you need to know that coffee and tea brewing has different methods.
However, you can use the Aeropress to make tea if you want. But, you need to be careful not to over-infuse using water when using the AeroPress.
Is aeropress good for camping?
Ultralight camping means that you need to carry with you only the essentials. The Aeropress and coffee are an essential for most campers, so the coffee maker is perfectly suited for minimally equipped backpacking.
It’s the best way of making coffee and only weighs around 350 grams. That lightweight feature makes it easy to carry when you go hiking or camping with your friends or family.
Can you make a cappuccino with an AeroPress?
An AeroPress is not only a great way of making coffee, but it’s also a great way of making cappuccinos. You can choose the type of milk that you want to drink and Aeropress is also suitable for sweet milk.
That gives it versatility that makes it perfect for your ultimate camping experience. You won’t have to worry about drinking too much caffeine when you go out and explore with your friends or family on weekends or during summer holidays.
Is there anything better than Aeropress?
The Delter Press is a cheaper alternative to the Aeropress, but also less convenient. Aeropress has many uses, which is what makes it a great coffee maker. It can be used for camping trips and backpacking too.
It’s easy to use, easy to clean and has a sturdy design that lets you travel with it without having to worry about it getting damaged.
Conclusion:
If you love to drink coffee and want to make it at home, this is the correct type of coffee maker for you. All you have to do is get an Aeropress, grind your beans, and follow a few simple brewing rules. Then, you can make great-tasting coffee at home every single time.
So, whether you're new to making your cup or just haven't found a suitable model yet- this one will suit your needs perfectly.
So, if you love coffee, then this is the best coffee maker for you because it won’t take up a lot of space in your kitchen or your office desk, and let’s face it, you can never have too much coffee!
I hope this article has helped you learn more about the AeroPress coffee maker. Do you have any other questions about it or coffee, for that matter? Let me know in the comments section below.


