Your Perfect Guide To The Aeropress Inverted Method

Looking for a guide on how to use an Aeropress? You are at the right place.
This blog post will teach you how to use the inverted method, what it means, and also show you different ways of making coffee that can be made with an Aeropress. It will even tell you what types of coffees are best with this particular technique.
Aeropress is the most popular manual brewing coffee maker available in the market.

It is a lesser-known coffee-making device when compared to other brewing methods such as French Press.
One of the reasons people use the Aeropress so often in their businesses is that they can easily optimize how much time and resources they spend on preparing coffee for customers.
The inverted method is a shortcut that you can use when making coffee with the Aeropress that almost guarantees dire results if you don’t do it properly.
This method is also a good practice for beginners, especially those new to brewing and who need to master the art of brewing quickly and efficiently.
A saying goes, ‘practice makes perfect, and this maxim applies to all sorts of skills: including coffee making.
Contrary to popular belief, Aeropress can brew a decent strong coffee too. In this article we describe how to make espresso with aeropress.
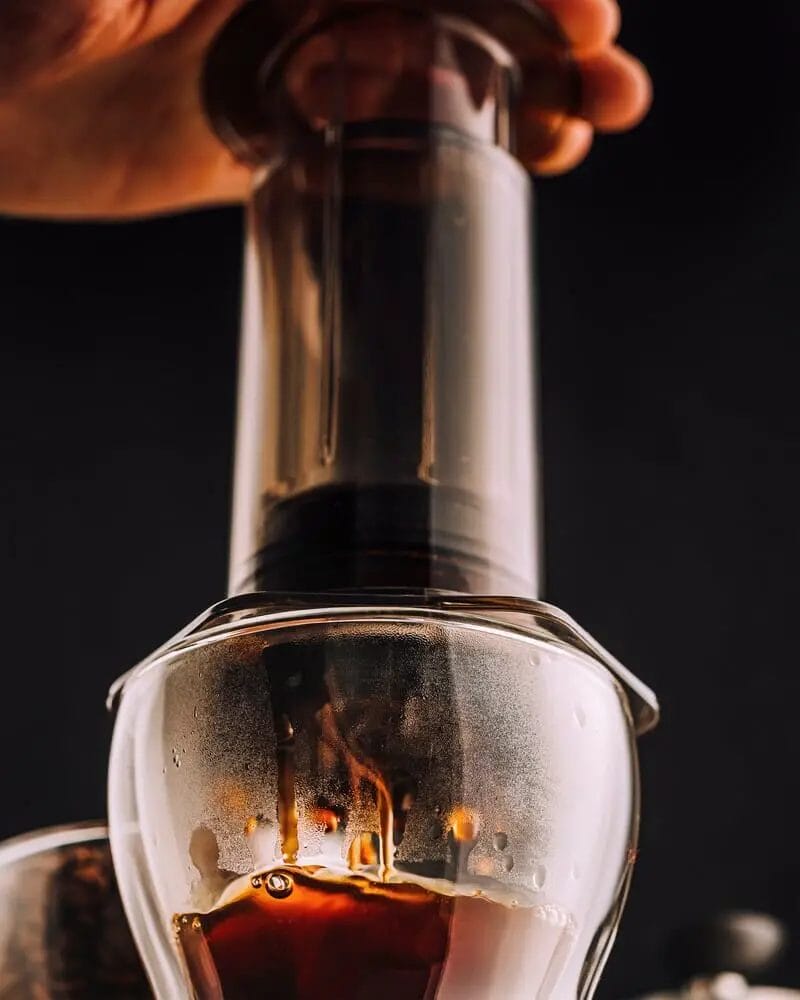
How To Make Coffee With Your Aeropress using the inverted method
Step#1 – Grind Coffee
It’s important to know that this step is different regarding how you grind the coffee beans. Finely grinding your coffee beans will give you a more robust and more prosperous cup of coffee that tastes better than your average level of coffee.
If you don't do it well, you might end up with a weak-tasting tea. When using the inverted method, you want to grind each of the grounds at least twice to have enough surface area for the water particles to fuse with them.
Step#2 – Stir
This step is similar to how you stir your coffee using a Moka pot, French Press, and other popular brewing methods.
When using the inverted method, try to make sure that everything is steeped in the cup to distribute the coffee evenly.
Step#3 – Water Infusion
You’ll only need one shot of water for this part of the process, as well as you can control it by adding more or less water, depending on your preference.
When using the inverted method, you'll only need to add the water and stir as the pot itself will do most of the work in pulling out all the flavours in your coffee.
Step#4 – Steep
The final step is where it all boils down. The way that you can tell if your coffee is made steeping is by looking at how dark it seems: if you don’t see any grounds floating on top of your coffee or milk, then you’ve finished steeping.
That’s it!
There you have it: the Aeropress inverted method.
What kind of coffee should you use for this method?
You can use virtually any type of coffee for this method. The only important thing to remember is that you have to use coarsely ground coffee beans with this technique to avoid any sediment from getting into your cup.
If you want to brew a quick and convenient cup of coffee using the Aeropress, you need to use coarsely ground coffee beans.
When it comes to brewing time, that all depends on how strong or weak you want your coffee to be, so if you’re using coarse grounds, keep in mind that your brew time will be faster than usual.
What’s the difference between the traditional method and inverted AeroPress?
There are a lot of differences between the standard method and the inverted method. I’ll list them below:
1. Changing the order
In the traditional method, you first grind your coffee beans. After that, you add a pre-ground shot of coffee and immediately pour it into the filter.
And then you allow it to steep for 30 seconds or so before you press on it. Inverts, however, have everything in reverse.
2. Changing the filter
The standard method for making coffee with an Aeropress uses the paper filter with a pre-ground shot of coffee. In the inverted process, however, you use a metal filter with no pre-ground shot of coffee.
3. Changing the timing
Inverted brewing uses less time than the standard way because you’re skipping out on giving your coarsely ground coffee beans time to steep in hot water before pressing them down.
4. Changing the pressure
Pressure is also different depending on the method you use. For example, when inverted, you’ll be able to get more pressure because you’re using a coarser grind and a metal filter.
Seven Reasons That Make Aeropress a Great Tool for making coffee:

If you’re a fan, then you might want to keep reading. It’ll be interesting to know why so many people are saying good things about this brewing device.
Aeropress is the most popular manual brewing device out there. In our article How To Make A Latte With Aeropress we’ve explained how to use the device to make a Latte.
The Aeropress can be very versatile
It is one of the reasons why a lot of people love it. You can either make small cups or large cups of coffee depending on what you prefer, and you can also mix up your recipes by adding more or less water to your cup.
It is not very pricey
If you’re on a budget, then this is one of the best choices for you. The whole thing only costs around twenty to thirty dollars, and that’s already a minimal price compared to what you’ll get out of it.
It is easy to use
It isn’t just for beginners, but if you want something simple, this is perfect. All you need to do is set it up and start brewing!
It is easy to clean
If you’re on the go and don’t want anything on your way, it is the best thing for you. All you need to do is run it through a dishwasher or give it a quick rinse under some running water, and it’s good as new!
It’s durable
It works pretty well, which means that you won’t need to replace it anytime soon. One of the many things that people love about this product is how durable and convenient it is.
It is healthy
If you’re health-conscious or if you want something super good for your body, then this is the best choice for you.
It's so easy to use that it doesn't require any special skills, and it can help people looking to lose weight because of how the whole manual brewing process works.
It tastes great
Many people love this product because of how good it tastes.
Now that we know its advantages let us learn different ways to make coffee with an Aeropress.
Here are 7 Ways To Make Coffee With the AeroPress
Standard Method
It is the most common technique that you’ll see when brewing with an AeroPress. What you’ll need is a brewing device, a paper filter, and hot water.
Nespresso Method
If you’re looking for convenience, then this is the best method for you. You need to use your Nespresso machine along with a reusable filter designed for this type of system!
Drip-Free Method
You don’t have to worry about dripping anymore because all the mess will be gone with this technique! You only need to use a filter, hot water, and ground coffee!
Cold Brew Method
It is most especially if you’re an iced coffee fan. You can use your brewing device along with cold water and ground coffee for the perfect cup of iced coffee on a hot day!
Cold brew is a very interesting coffee brewing method. Aeropress turns out to be a great cold brew coffee maker, but there’s one problem – wet coffee grounds clog the filter. In our article how to make cold brew aeropress we describe several ways of preventing this from happening.
Clever Dripper Method
If you’re an avid fan of pour-overs, then this is the best thing for you. It will allow you to do your pour-over anywhere you want in just a few steps! But, of course, you’ll need ground coffee, hot water, and a dripper filter for this one.
Cone Pour-Over
This method can be a bit tricky at first, but the results will be worth it. You’ll need a cone filter, ground coffee, and hot water for this one.
Chemex Method
If you’re an avid fan of using a Chemex, then you can still do that! You have to use AeroPress, and you’ll get the same result that you’re used to!
What are the marks on the AeroPress for?
The numbers are measurements that are taken during the brewing process. Because the numbers vary depending on how much coffee you’re using and how you’re brewing, this table is the best way of figuring out what the numbers correspond to in terms of your AeroPress recipe.
How long does an AeroPress last?
This is an important question to ask because it decides the lifespan of your AeroPress. The longer the AeroPress is able to last, the longer you can enjoy coffee made with it. If used properly, it can last upto two to three years!
How do I know if my AeroPress is real?
You need to remember some things if you want to be sure that you’re buying a real AeroPress.
If the price is too good to be true, then it’s probably a fake. The Aeropress should have “AeroPress” written on its side in the same font and size.
Is Chemex or Aeropress better?
There is no right or wrong answer to this question. It all depends on what type of coffee you prefer drinking and how often you drink it. Both are great for making coffee, so it’s up to you which one you like the most!
Why is AeroPress coffee less acidic?
One of the main benefits of using an AeroPress is that it creates a cup of coffee that has a much less acidic taste than many other types of coffee. In order to do this, AeroPress uses very special paper filters. Unlike many other brewing devices that use paper filters, the new design makes it much easier to grind and brew coffee with an AeroPress because there are no paper fibers left behind in the process.
How much coffee does an AeroPress make?
An AeroPress can make a cup of coffee that is 6 to 8 ounces. Of course, you might not be able to get a large cup of coffee that way, but you can constantly adjust your water and ground coffee ratio for a better result.
Here it is! All the latest info on the AeroPress Coffee Maker. It's proven that it can brew a great-tasting cup of coffee, and you can make it at home or anywhere else!
Just remember to study and understand the process before you start using this brewing device to have a successful manual drip.
If you have any questions, concerns, or thoughts regarding this post, please share them in the comment section below.
Thanks! 🙂


