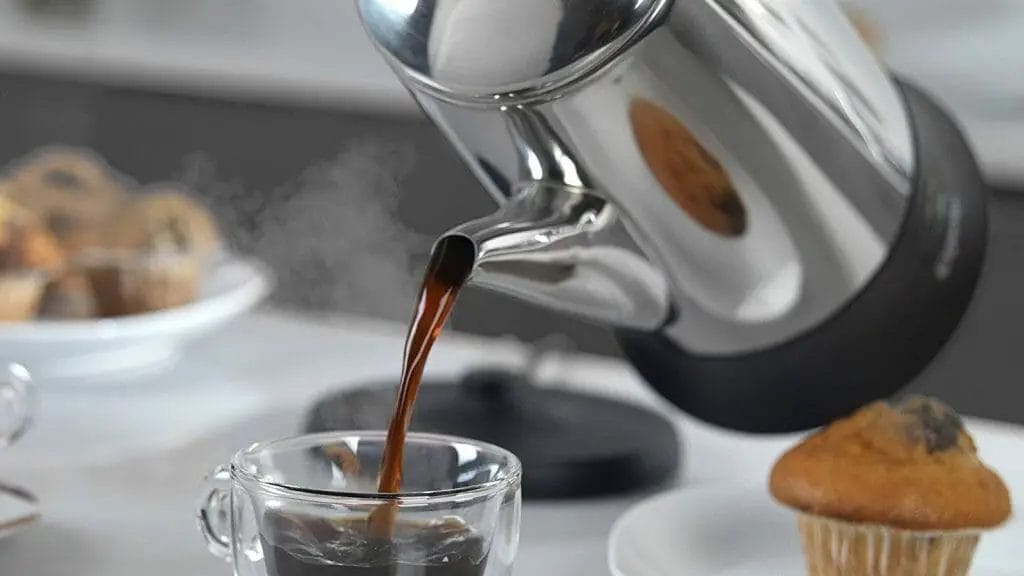
How To Make Coffee In An Electric Percolator?

Percolators were the most popular way to make a cup of coffee at home until the 1970s when they were replaced by drip coffee. Nonetheless, are they still worthwhile during today’s world?
This article covers all the important information about How To Make Coffee In An Electric Percolator. It also provides some helpful tips for brewing the best cup.
What is an Electric Percolator?
A percolator comes in both a stovetop model or and an electro model. Unlike other types of makers, this one doesn't use paper filters to filter the grounds but instead uses a boiling process to continuously cycle water and steam through coffee grounds to extract coffee.
How Do Electric Percolators Work?
Although electric and stovetop percolators have differences, their essential operation is the same. A metal pot, usually made of aluminum or stainless steel, contains some water.
The bottom part of the pot is where the coffee grounds are added. The top part of an electric percolator usually has a glass “watch” that allows you to view the process of percolation.
The coffee grounds are placed in the bottom of the pot, and a heating element is connected at one end. Once the element heats up, more electricity is supplied to it as needed to keep things going.
As the pot heats up, steam is released from it, making its way into a tube located in the center of the filter on top of the percolator—the steam and water cycle through the coffee grounds extracting the coffee.
Now, the coffee grounds start percolating through the filter. However, the taste of coffee is determined by how long they’re allowed to steep.
In traditional percolators, this process takes around 5-6 minutes, depending on the heat settings. Electric percolators generally regulate the amount of heat automatically to keep the water just above the boiling point for best extraction.
However, that’s not exactly the case with some modern percolators. In most cases, modern percolators have two separate compartments for brewing and steaming.
The compartment at the bottom is called the “coffee maker.” It contains heating elements as well as water and ground coffee.
The compartment in the middle is called the "brewing chamber."
This is where the brewing process takes place, meaning that when you first put ground coffee inside it, almost immediately, it starts brewing and distributes steam throughout the heating elements and eventually to your cup.
Such percolators are faster in extracting coffee and save time.
How Much Coffee to Use in a Percolator
Percolators have a similar ratio of coffee-to-water to brewing methods like a drip. A popular bet is to use one tablespoon of coffee beans for every eight ounces of water.
You can adjust the quantity of coffee for weaker or more robust coffee.
How To Use an Electric Coffee Percolator
- Measure out the coffee you need and grind it coarse. If your coffee is too fine, it can get away through the filter. At best, this may result in sludge but also clog the pipe.
- Place the grounds in the coffee maker. Then add water to the correct level indicated on the machine’s gauge (usually around 1/3 to 1/2 full).
- Put on the lid and plug in your percolator, according to the manufacturer’s instructions. You can start brewing immediately. The percolator might automatically switch itself off after some time, though, so keep an eye on it.
- Wait for the brewing process to complete. When your coffee’s ready, you’ll hear a gurgling sound, and the percolator’s filter basket might start to drip.
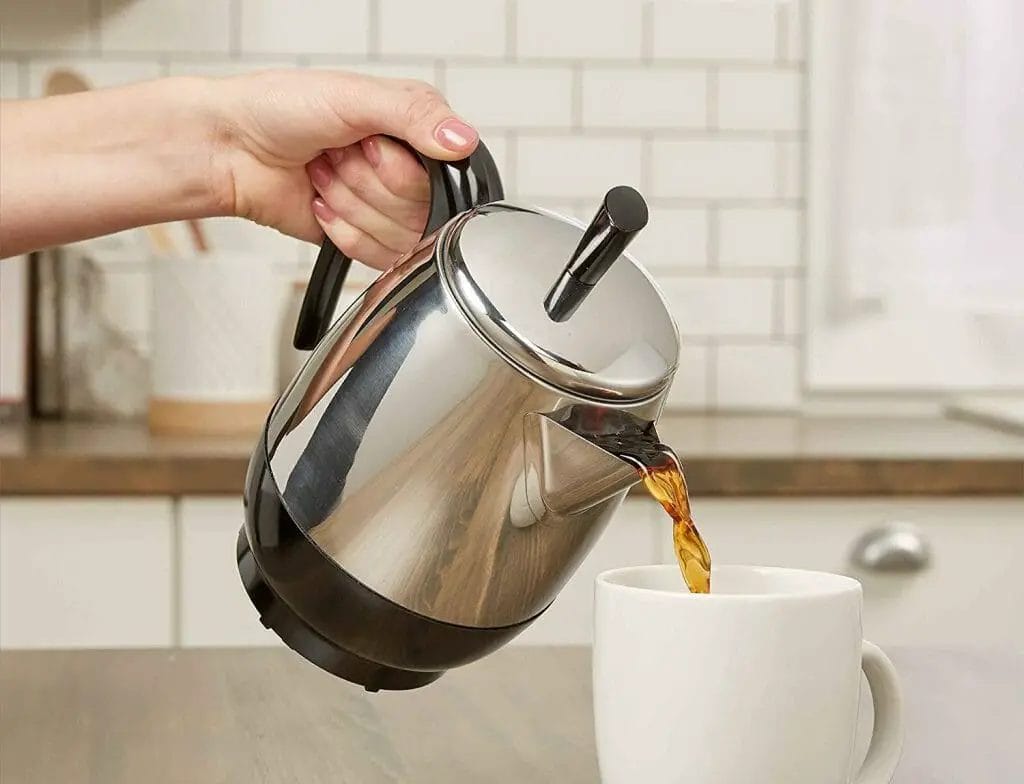
- Pour yourself a glass of freshly-brewed coffee, and enjoy! For a more intense flavor, you can strain your coffee through a cheesecloth before drinking it.
It's essential to cool your coffee a little before putting it in a thermos or other storage container. If you don't, the coffee will be hot enough to cook the thermos.
How to Ensure Best-tasting Coffee Using Electric Percolator?

To make a good cup of coffee, you need to get the basics right. Here are the components of a perfectly perked coffee:
1. Good Quality Coffee Beans
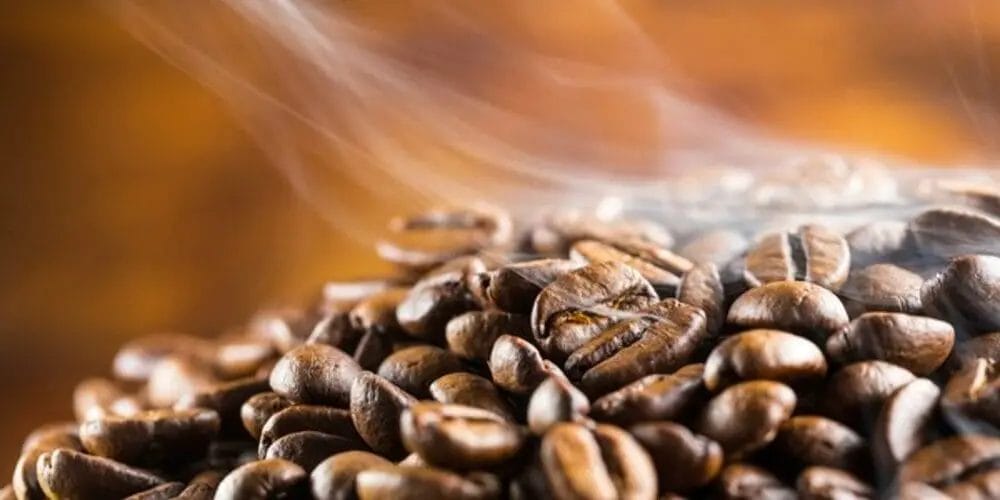
A good coffee bean is a must. Make sure to get fresh, quality coffee beans. Old beans will have lost their flavor and aroma. If you are grinding your beans, make sure that you do it immediately before brewing your coffee.
2. Proper Grind Consistency
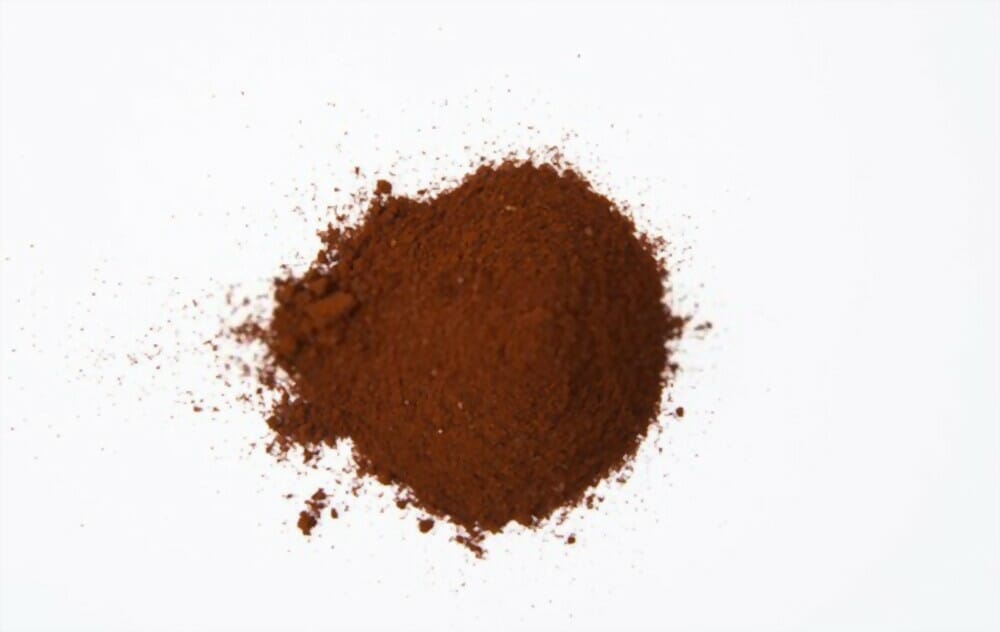
The consistency of the grind is as essential as the coffee quality. The grind should be coarse enough to allow the coffee to permeate and expand.
3. Water Temperature
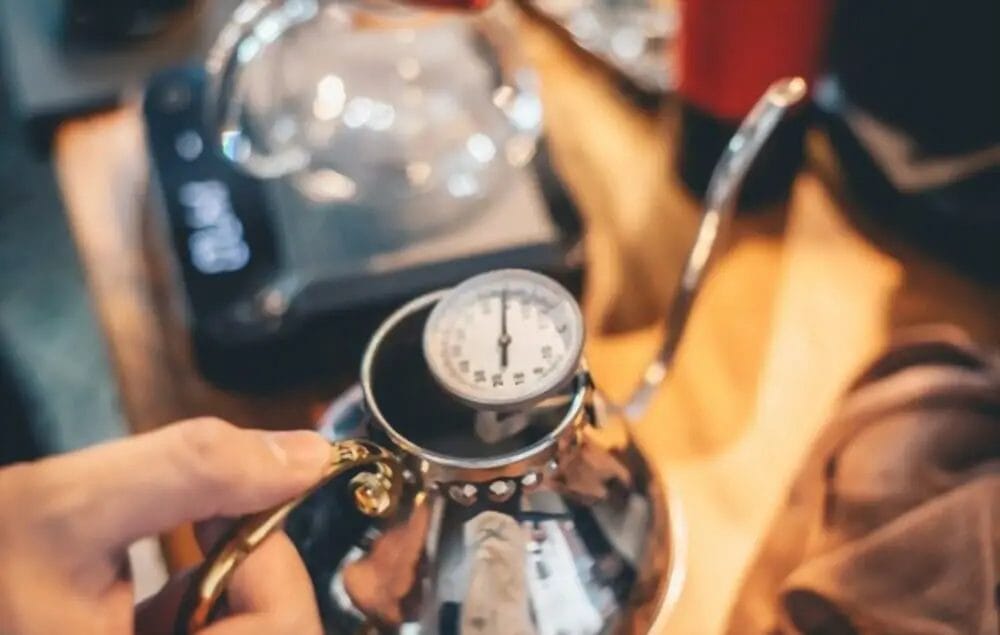
Water temperature significantly affects the taste of coffee, so make sure you always use cold water. If you pour hot water over cold, you’ll get a bitter-tasting coffee.
This is because hot water can damage the delicate aromas in your cup, and it can also change its flavor by extracting certain chemicals from the ground beans.
You don’t have to worry about it in an electric percolator as it’s controlled and maintained by the thermostat.
4. Water to Coffee Ratio

The ratio of water to coffee is also essential in determining the taste of your coffee. Too much water and your coffee will be too weak. Too little water and your cup will have an unpleasant bitterness.
5. Appropriate Duration of Coffee Percolation
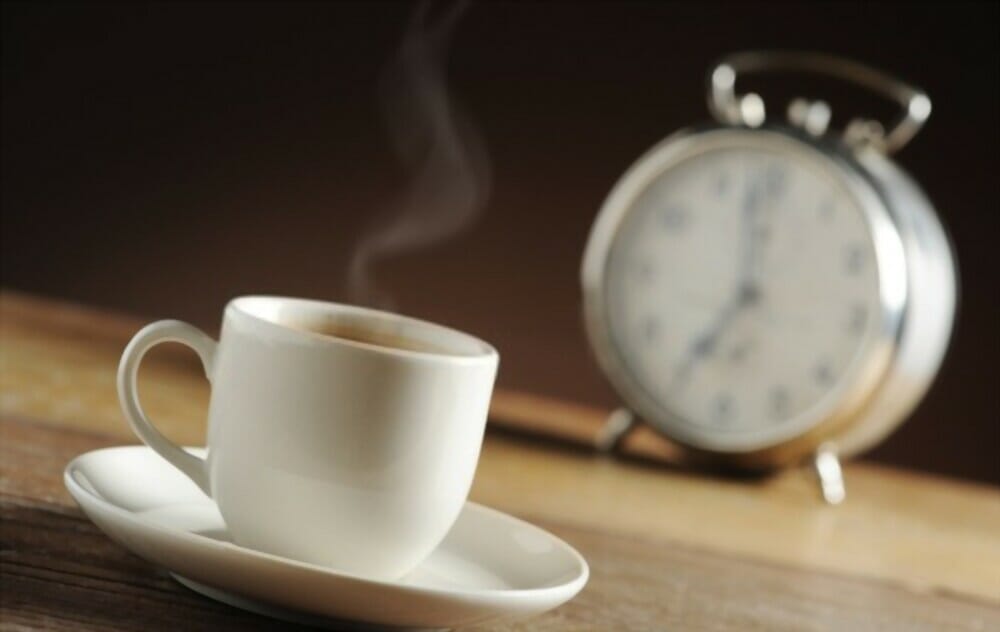
The duration of coffee percolation depends on the type of coffee you use. Generally, you can stop percolating when you start smelling a fresh coffee aroma as well as the indicator light on your percolator turns on.
For dark roast coffee, wait about 8 to 10 minutes. For a lighter roast, 5 to 6 minutes should suffice.
If left unattended for too long, over-circulation of perked coffee in the percolator can result in a bitter and acrid cup of coffee.
Misconceptions About Percolated Coffee

If you plan to go into a store or browse the reviews online, chances are you'll be discouraged from buying a coffee maker towards the incorrect beliefs about percolated coffee:
1. Weak drink
This is a common complaint by people who don’t understand how to make coffee. They don’t know the ratio of coffee grounds to water or how long they should brew. In fact, an accurately perked coffee is known to be very strong and prosperous indeed.
2. Slow Brewing
Another complaint is that it takes too long to brew a cup of coffee using a percolator. People do not wait for the coffee to settle but pour their cups before the brewing process even ends.
Once again, though, this is not the fault of the percolator. After all, it's due to an ill-implemented recipe.
3. Accommodating to all tastes
This is also not the fault of your percolator. People make this complaint because they don’t know how to make a perfect cup of coffee, and the percolator cannot make up for it.
4. It Goes bad faster
This is another misconception about percolated coffee. When appropriately used, perked coffee does not spoil fast.
This is because brewing hot water into a bowl of ground coffee can release chemicals and flavors from the beans. Coffee beans are rich in antioxidants that stop their deterioration and maintains them fresh for a long time.
5. Drinks are bitter
Another misconception about percolated coffee is that it tastes bitter. In the percolation process, the strength and bitterness of coffee depend on how long the water is in contact with the coffee grounds.
Your water should be at its hottest when it touches the coffee grounds to get a solid and excellent taste. Coffee that has been brewed for a long time will probably be bitter and have a terrible taste.
How to Clean Your Electric Percolator?
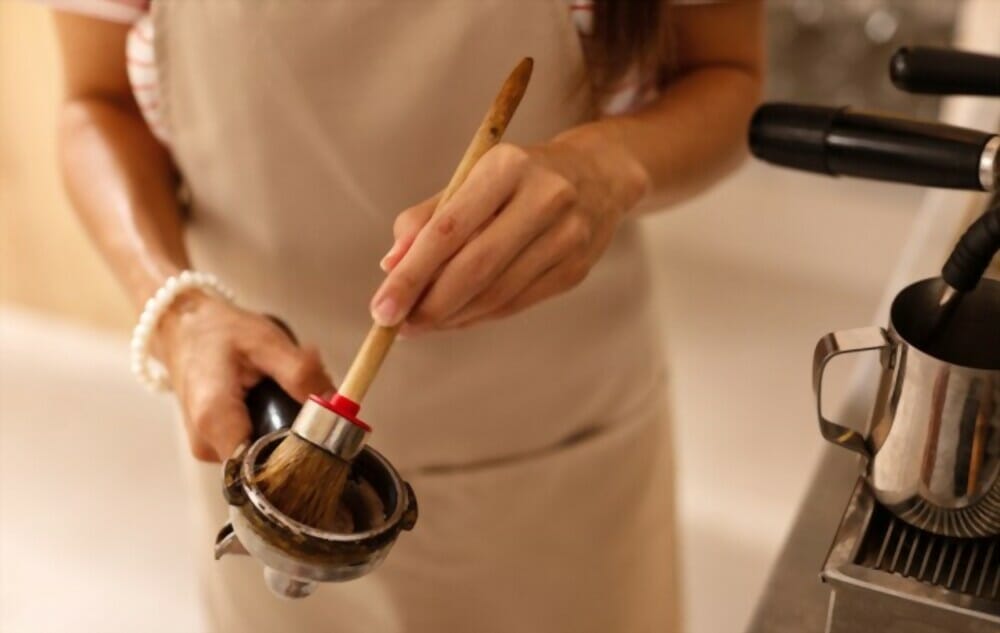
After every brew, you’ll want to thoroughly clean your electric percolator in order to maintain a fresh-tasting coffee.
- Take the lid off and separate it from the pot. Then, place it outside your sink so that any brewing coffee residue or coffee grounds that might spill out can wash away freely.
- Empty the water of your percolator by running a faucet into it, then rinse the inside with lukewarm water to clean any residue or coffee grounds stuck on it. Use a sponge and dish soap to scrub away any hardened beans stuck on the inside of your pot as well as in the filter basket.
- Wash the lid part with warm water and dish soap. Waterproof the top before replacing it.
- Wash the filter basket by placing it under running warm water, then scrubbing it clean with a sponge and dish soap.
- Add a few drops of oil on the inside base of your percolator, then wipe them off using a paper towel or dry cloth until all soilings are removed from the surface.
- Do not forget to dry your percolator after cleaning, and finally, store it in a cool place to maintain its function for a very long time.
Tips to Keep Your Electric Percolator Functioning Perfectly Well
- Do not forget to clean your percolator after every use to maintain a fresh-tasting coffee all the time.
- Make sure you are not dripping coffee on its electric parts to avoid them shorting and causing them to malfunction.
How much coffee do I use in an electric percolator?
As seen in the article, you can use a certain amount of coffee in percolators so long as how your coffee maker works. As for the amount of coffee that you should use, there is no accurate answer to it. Basically, all you want is to make sure that the back of your electric percolator is not overflowing and your coffee tastes good.
How much ground coffee do you put in a percolator?
The amount of ground coffee that you put in a percolator is dependent on the size of your percolator. For small percolators, add enough coffee to fill the basket, which is usually metal. For larger percolators, you can add as much as you want.
How do I clean a percolator?
Cleaning a percolator is very simple and easy to do. What you simply have to do is remove the lid from the percolator, wipe it with a soft cloth and wash it up. Then, remove any residue that might be left on the pot and clean it thoroughly by running some clean tap water into it. For any hard residue that is stuck on your percolator, you can use some dish soap to help you scrub better.
What kind of coffee do you use in an electric percolator?
As a general rule, the type of coffee that you use in your percolator is the same as the one that you would normally use for a drip coffee maker. As for what kind of coffee beans you should use, it depends on your preference. You can also choose different types of coffee every sometimes just to give yourself a change in flavor.
How do you make the perfect percolator coffee?
Unless you want to make a perked coffee that tastes bitter, it is best to choose a water temperature that is not too hot. The right temperature that you should use for your percolator is about 170 degrees Fahrenheit, but do not forget to check the manual of your percolator for more information.
Can you use regular coffee grounds in a percolator?
Yes, you can use regular coffee grounds in a percolator. Just remember to let the coffee grounds steep for at least 4 minutes before you put them on the percolator to give it time to get hot enough.
Do you remove percolator basket before pouring?
Yes, you need to remove the basket in order for the water to get down to the coffee grounds. Then, once your percolator is filled, you will have to wait for it before pouring it into a cup.
What is the best grind for percolator?
A medium grind for a percolator is the best choice. For example, if your percolator comes with a basket, then use about half beans for each batch. Then, for better results, choose whole beans instead of ground beans when brewing your coffee.
How long should I percolate coffee?
You need to determine how long you want your coffee to stay in your percolator before you put it in a cup. You should put half the amount of coffee that is needed for a normal cup on the metal basket of your percolator. Then, wait for the coffee to brew completely before you pour it into your cup.
Conclusion
In this article, we have learned the purpose of using an electric percolator and how it can be used to make good-tasting coffee.
We have also learned what percolators are, how they work, and what to look for when buying one.
We have also learned the various parts of a percolator, how to make sure it is clean enough and where to store it afterward.
Understanding how a percolator works will help you have a better cup of coffee. Embracing a juristic skill for generations, perked coffee, is truly a great way to enjoy a cup of coffee.
So if you want to wake up to the aroma of fresh and hot brewed coffee every day, you should consider getting yourself an electric percolator.
Do you use a percolator to brew, and how is your experience? Let me know in the comments section below.


