Master Guide: How To Clean Calcium Build Up In Coffee Maker

Did you know that the quality of your morning brew could be compromised by the build-up of calcium in your coffee maker?
Not only does it affect the taste of your coffee, but it can also reduce the efficiency and lifespan of your beloved coffee machine.
In this article, we will dive into the world of coffee maker maintenance and explore effective ways to tackle calcium build-up.
We’ll equip you with the knowledge and step-by-step instructions to keep your coffee maker running smoothly and your brews tasting as delicious as ever.
So, grab a fresh cup of java, and let’s get started on revitalizing your coffee maker!
Key Takeaways
- Quick Clean Solution: A vinegar-water mixture efficiently eliminates calcium build-up, getting your coffee maker back to top performance swiftly.
- Maintenance Matters: Regular cleaning is crucial – calcium build-up can clog your coffee maker over time, causing damage and potential failure.
- Filtered Water for the Win: Using filtered water in your coffee maker can slow down calcium build-up, thanks to its lower mineral content.
- Descaling Solutions Save the Day: Descale solutions, designed to combat calcium build-up, offer an effective, fuss-free alternative to vinegar.
- Manual Before Dismantle: Want to clean each part of your coffee maker? Check your user manual first – not all machines are meant to be taken apart.
Recognizing Calcium Build-Up in Your Coffee Maker
Is your coffee machine trying to tell you something?
Pay attention to these early signs of calcium build-up in your brewing buddy:
- Unusual Noises During Brewing: If your once quiet coffee maker is suddenly making strange noises during the brewing process, it could be a sign of mineral buildup interfering with the flow.
- Off-Tasting Coffee: Have you noticed a bitter or off taste in your morning cup? Calcium deposits can seep into the brewing system, altering the flavor profile of your beloved brew.
- Extended Brewing Time: Is your patience being tested as your coffee takes longer than usual to brew? Calcium deposits can hinder the flow of water, leading to a slower extraction process.
- White Chalky Residue: Take a peek inside the water reservoir of your coffee maker. If you spot a white, chalky residue coating the walls, it’s a clear indication of calcium build-up.
Visuals can be helpful in guiding you through this process. Keep an eye out for any of these signs to nip calcium build-up in the bud and ensure your coffee maker stays in top-notch condition.
Materials Needed to Clean Calcium Build-Up
Before we dive into the step-by-step cleaning process, let’s gather the materials you’ll need to tackle that pesky calcium build-up in your coffee maker:
- White Vinegar or Descaling Solution: White vinegar is a popular and cost-effective option to remove calcium deposits. If you prefer a specialized descaling solution, it can also do the trick. Both options work effectively in breaking down mineral build-up and restoring your coffee maker’s performance. Just make sure to follow the manufacturer’s instructions if using a descaling solution.

Alternatives: If you don’t have white vinegar or a descaling solution on hand, you can use citric acid, lemon juice, or baking soda mixed with water. However, be cautious when using baking soda, as it can leave a residue if not rinsed properly.
- Fresh Water: Preferably filtered water is essential to ensure a thorough rinse after the cleaning process. This helps remove any remaining cleaning solution or residue.
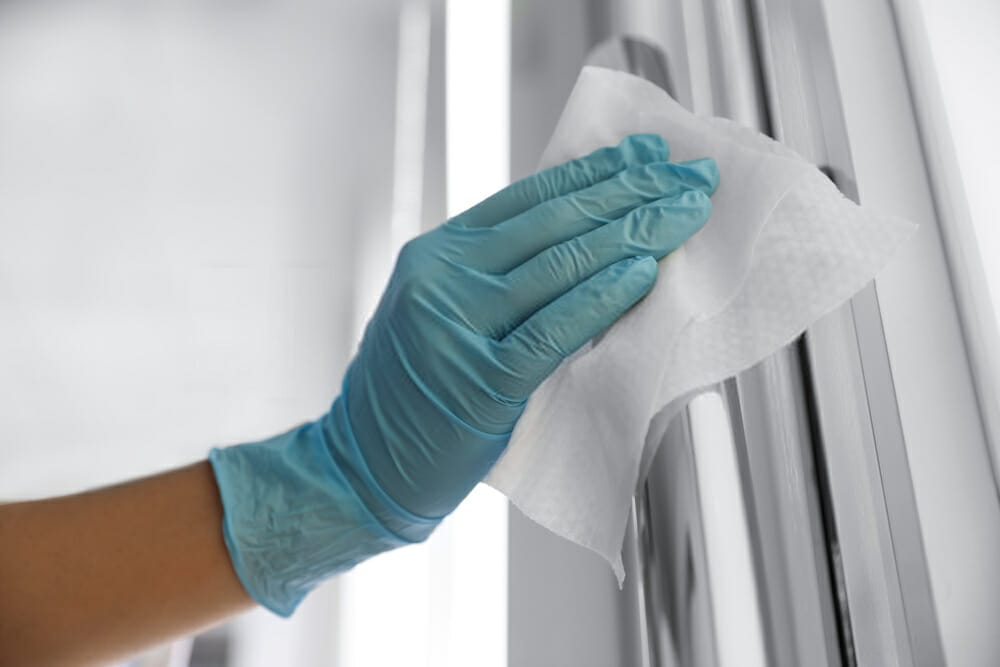
- Soft Cloth or Sponge: To gently scrub and wipe down the exterior surfaces of your coffee maker, a soft cloth or sponge is ideal. Avoid using abrasive materials or scouring pads that could damage the finish.
- Q-tips: For those hard-to-reach areas inside your coffee maker, Q-tips can come in handy. They allow for precise cleaning and can help remove stubborn mineral deposits from small crevices.
Ensure safety while cleaning: When using any cleaning agent, follow the instructions, and take necessary precautions.
Avoid direct contact with eyes or skin, and keep the cleaning area well-ventilated.
Now that we have our materials ready, let’s move on to the cleaning process and bid farewell to calcium build-up in your coffee maker!
Step-by-Step Guide: Removing Calcium Build-Up
Let’s roll up our sleeves and get your coffee maker sparkling clean!
Follow these simple steps to bid farewell to stubborn calcium build-up:
- Preparing Your Coffee Maker: Start by unplugging your coffee maker and ensuring it’s cool. Remove any coffee grounds from the filter basket and empty the carafe.
- Mixing the Cleaning Solution: Prepare the cleaning solution by combining equal parts white vinegar (or descaling solution) and water. For example, if you’re using one cup of vinegar, mix it with one cup of water. Adjust the quantity based on the size of your coffee maker, ensuring you have enough solution to fill the reservoir.
- Running the Cleaning Cycle: Fill the water reservoir with the prepared cleaning solution. Place an empty filter basket and carafe back in their respective positions. Start a brew cycle without adding coffee grounds. Allow the cleaning solution to run through the machine until half of the reservoir is emptied.
- Pause and Soak: Once the brewing cycle is halfway through, pause the process and allow the cleaning solution to sit in the reservoir for about 15 minutes. This soak time ensures that the vinegar (or descaling solution) effectively breaks down the calcium build-up.
- Completing the Cleaning Cycle: After the soak, resume the brewing cycle and let the remaining cleaning solution run through the coffee maker. This step helps to further remove mineral deposits from the machine’s internal components.
- Rinsing and Repeating: Once the cleaning cycle is complete, empty the carafe and rinse it thoroughly with fresh water. Fill the water reservoir with clean water only, and run a couple of brewing cycles to flush out any remaining vinegar taste or residue. Repeat this rinsing process if necessary until the water runs clear.
- Cleaning Other Components: Don’t forget to clean other removable components affected by calcium build-up. Gently scrub the filter basket, carafe, and any other removable parts using a soft cloth or sponge. Rinse them thoroughly with water before reattaching them to the coffee maker.
By following these step-by-step instructions, you’ll help prolong the life of your coffee maker and ensure that every sip is as flavorful as it should be.
Post-Cleaning: Checking Your Coffee Maker
Congratulations on successfully cleaning your coffee maker! Now it’s time to give it a quick check to ensure that all the calcium build-up has been removed and your coffee maker is back in tip-top shape.
Here’s a checklist to help you evaluate your coffee maker post-cleaning:
- Brewing Time: Did the brewing time improve? Note whether your coffee maker is now brewing at its usual speed, without any delays caused by mineral deposits.
- Unusual Noises: Is your coffee maker now operating quietly? Confirm if any previously heard unusual noises have disappeared, indicating that the calcium build-up was causing the disturbance.
- Taste Test: Brew a fresh cup of coffee and take a moment to savor its flavor. Notice if the off-taste or bitterness you previously experienced has disappeared, leaving you with a smooth and delicious brew.
- Residue Check: Examine the water reservoir and other visible surfaces for any remaining traces of white, chalky residue. If everything looks clean and sparkly, it’s a great sign that the calcium build-up has been effectively removed.
Tick off each point as you go through the checklist, ensuring that your coffee maker has been restored to its optimal condition.
If there are still lingering issues or concerns, you may need to repeat the cleaning process or seek professional assistance.
Remember, regular cleaning and maintenance are key to preventing future calcium build-up and ensuring the longevity of your coffee maker.
Regular Maintenance to Prevent Calcium Build-Up
To keep your coffee maker free from pesky calcium build-up and maintain its optimal performance, establishing a regular cleaning routine is essential.
Here’s a suggested schedule for daily, weekly, and monthly maintenance tasks:
| Task Frequency | Maintenance Task |
|---|---|
| Daily | – Empty and rinse the carafe and filter basket. |
| – Wipe the exterior surfaces of the coffee maker. | |
| – Remove any leftover coffee grounds from the filter. | |
| Weekly | – Prepare a cleaning solution using equal parts white vinegar (or descaling solution) and water. |
| – Run a cleaning cycle with the prepared solution. | |
| – Rinse the carafe, filter basket, and removable parts. | |
| – Wipe down the exterior surfaces with a soft cloth. | |
| Monthly | – Deep clean the coffee maker using the complete step-by-step cleaning process described earlier. |
| – Pay special attention to hard-to-reach areas and components affected by calcium build-up. |
By following this regular maintenance routine, you’ll minimize the risk of calcium build-up and ensure that your coffee maker continues to deliver outstanding brews.
Remember, prevention is always better than cure when it comes to coffee maker maintenance!
Adjust the cleaning frequency based on your usage and the quality of your water.
Hard water areas may require more frequent cleaning to prevent mineral deposits from building up.
Now, go ahead and enjoy a consistently delicious cup of coffee from your well-maintained coffee maker!
FAQs
Conclusion
Keeping your coffee maker free from calcium build-up is crucial for enjoying a flavorful and long-lasting brewing experience.
Here’s a quick recap of the key points covered in this article:
- Recognize the early signs of calcium build-up, such as unusual noises, off-tasting coffee, extended brewing time, and white chalky residue.
- Gather the necessary materials, including white vinegar or a descaling solution, fresh water, a soft cloth or sponge, and Q-tips.
- Follow the step-by-step guide to effectively remove calcium build-up, pausing for a soak, rinsing thoroughly, and cleaning other components if needed.
- Conduct a post-cleaning inspection to ensure the brewing time, noise level, and taste have improved, with no residual residue.
- Establish a regular cleaning routine, including daily tasks like emptying and rinsing, weekly cleaning cycles, and monthly deep cleaning.
- Remember, prevention is key! Regular maintenance and cleaning will prevent future calcium build-up and maintain your coffee maker’s performance.
Now that you’re armed with the knowledge to keep your coffee maker in top shape, it’s time to put it into action.
Remember, a well-maintained machine means consistently great cups of coffee!
If you have any experiences or questions about cleaning calcium build-up in your coffee maker, I’d love to hear from you.
Share them in the comment section below and let’s continue the coffee conversation!
Happy brewing,
Latte Latour


