keurig Single Cup Brewing System- Know How To Clean It!
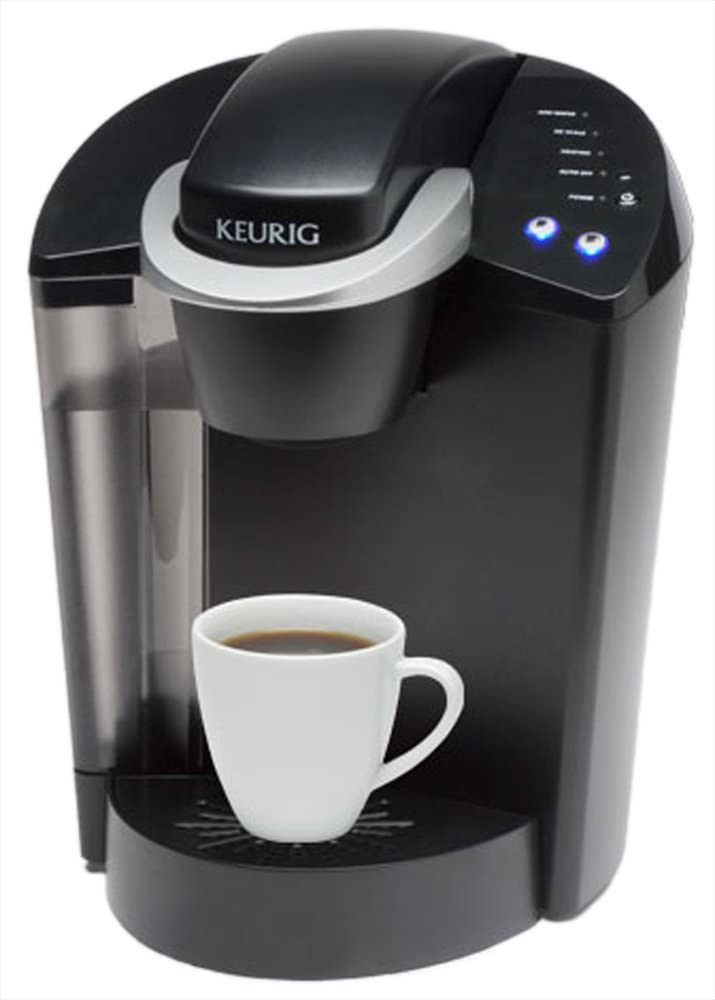
Are you using a Keurig single cup brewing system for your morning cup booster?
[amazon Box=”B00390T5JA” ]
Then you need to know that you should clean it in a while so that you always get your cup of coffee fresh and aromatic.
Proper maintenance of your brewer, like that of any other appliance, is critical to its longevity. Therefore, take good care of your Keurig. After all, it's in charge of brewing your much-needed morning brew to get your day started right.
Keurig brews single cups of coffee very fast, using replacement water filters for Keurig coffee makers. It’s quick and convenient to use. It’s certainly a welcome addition to the kitchen of a busy household.
To keep your Keurig brewer in optimal condition, it is essential to clean it regularly. Some people might think that cleaning a coffee maker is a difficult task that requires advanced technical know-how.
However, this is not true. Even with just a little bit of patience and some common sense, cleaning your Keurig machine will be a walk in the park.
You can clean your Keurig coffee maker at home without hiring an expert service provider to do it for you. Instead, you need to know three basic cleaning steps - remove, clean, and replace it into place - to have a sparkling-new brewing device.
Let’s get started!
When to clean the machine?
You must look for the signs that tell you it’s already time to clean your Keurig coffee machine. Here are some of the things to look out for:
Longer than usual brewing times:
When you start experiencing longer than usual brewing times when making coffee in your Keurig machine, mould or limescale may be already present in the water tank. If this happens, then you must clean your Keurig immediately.
Water leaks:
Water leaks are one of the signs that tell you that it’s already time to clean your Keurig brewer. When water leaks out of the bottom of the machine, it is possible to become clogged.
Visible mineral build-up:
A build-up of brownish minerals on the device’s surface might have already happened. If so, then it’s time to clean your Keurig coffee machine.
Unusual odour:
You can notice an unusual smell when your Keurig coffee machine is brewing your morning brew, indicating that the device is not functioning correctly.
Less or more than the right amount of coffee:
You might notice that the amount of coffee you drink is less than usual or more than usual. If this happens, then it is time to clean your Keurig coffee machine.
What cleaning agents to use?
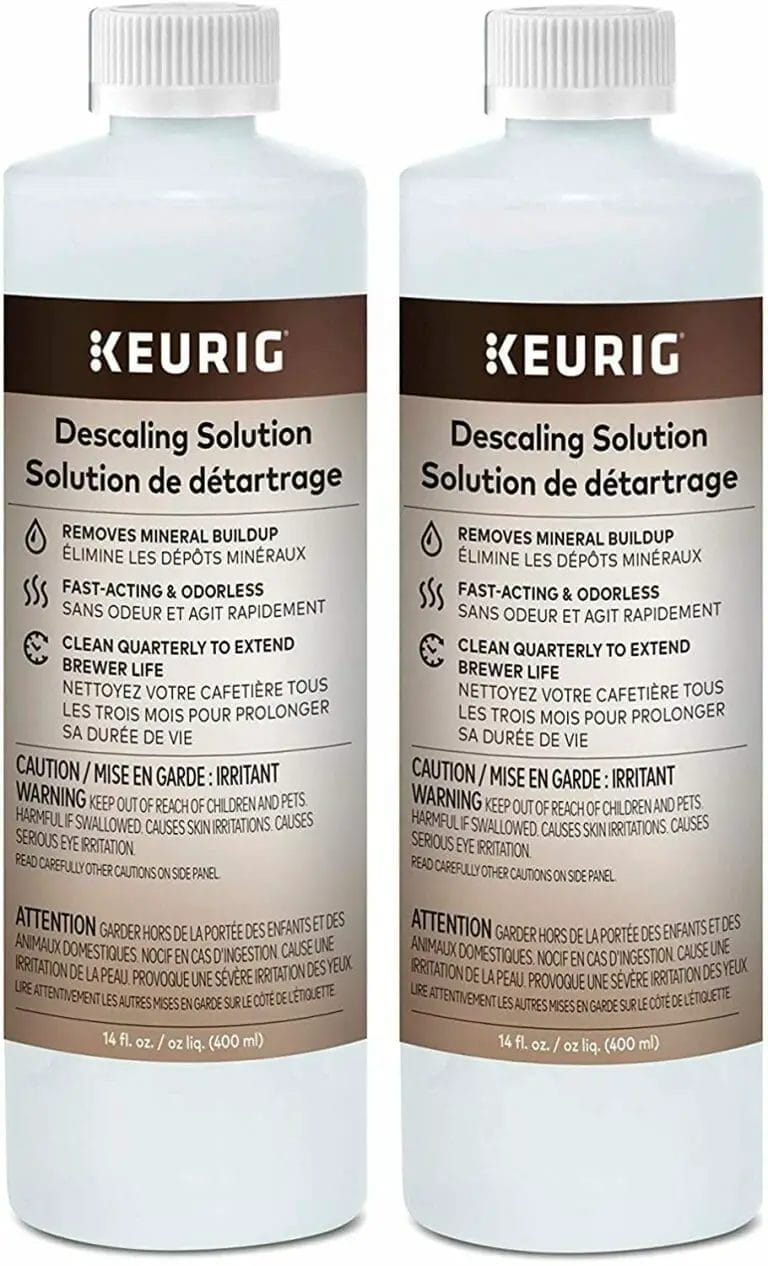
There are many cleaning agents that you may use for your Keurig brewers, such as vinegar and dishwashing liquid. However, you must use the one that will not damage the construction of the device.
What things will you need?
To clean your Keurig coffee machine, you will need the following items:
- A clean toothbrush
- Microfiber cloth
- Vinegar
- Warm, clean water
- Cleanser
How to clean your Keurig coffee maker?
Now, let’s learn how to clean your Keurig coffee maker in detail.
Step 1: Unplug the machine before cleaning.
It is one of the most important things that you need to do when cleaning your Keurig machine. Always unplug it when you’re cleaning so that you can avoid any damage to it. This process will also ensure that your brewer doesn’t overheat.
Step 2: Empty all the water from the reservoir.
When you clean out the water reservoir, it is essential that you first empty all the water from it. Then, you must remove the screen that covers the coffee basket.
It will make it simple for you to remove all of the residues that have accumulated there.
Step 3: Take apart all the removable components.
Next, you need to take apart all removable components of your Keurig coffee machine. It includes the water filter basket and the water reservoir.
Step 4: Clean with a toothbrush and vinegar.
Now you need to scrub the brewing head of the device with a toothbrush dipped in vinegar to rid it of any minerals or other growths.
Step 5: Rinse off the toothbrush.
Once you are done scrubbing your brewer’s brewing head, you need to rinse off the toothbrush. It will make it easier for you to clean all the tools later on.
Step 6: Clean the filters.
After that, you need to clean the top filter, the water filter basket, and the water reservoir. Finally, you must wash each of these in warm, soapy water.
Step 7: Rinse all components under warm running water
Now it’s time to rinse off all your parts under warm running water. It will help in making sure that the whole system is thoroughly cleaned out.
Step 8: Dump out all the cleaning agents and let them dry.
Now you need to dump out all the cleaning agents that you used in the cleaning process. After that, let them dry completely. Do not use these until they are completely dry.
Step 9: Replace all your Keurig coffee maker parts in place.
Now it’s time to put everything back into place. But, first, you must replace all of your Keurig coffee maker parts quickly so that they can be ready to brew your morning coffee when you wake up in the morning.
Step 10: Test the machine.
Finally, you need to test the Keurig coffee machine to ensure it is working correctly after the cleaning.
How often should you clean your Keurig coffee maker?
You have to clean your Keurig regularly. We recommend that you do this every month or time there are signs of cleaning the device. Remember, it’s better to prevent any damage rather than fix it afterwards.
Conclusion
[amazon Box=”B00390T5JA” ]
We hope that you can now see how easy it is to clean your coffee maker. After reading the above steps, it should be pretty easy for you to clean your Keurig machine.
Repeat these steps every time there are signs that the device has already become contaminated. Good luck! :)

