How To Do Latte Art At Home
You are pro in making a perfect cup of latte just like the cafe way. But do you know how to do latte art at home? Well! in that case, this blog is for you.
Today, we will highlight doing latte art. So the next time, you will not only make a perfect latte but add ons will be some great art on it.
Baristas have practised this art form since the 1960s. They usually create it at speciality coffee shops, notably Starbucks and Tim Hortons.
In these establishments, baristas will pour milk into a latte cup and add foam to create patterns on top of the foam while still steaming hot.

The heat from the milk helps melt the cocoa powder to make beautiful patterns on top of the frothed foam.
Latte art is the “secondary” art form for coffee beverages. It is a type of coffee decoration where the milk and foam are “painstakingly” created and manipulated to resemble objects such as rosettas, hearts, or flowers.
Latte art requires patience, skill, and lots of practice. It's not just all about pouring coffee into a cup. The latte artist needs to have good wrist ambidexterity, agility, hand-eye coordination, focus, and above all, patience.
Let’s get into it and learn more about latte art and how you can do it at home.
Stuff you will require:
First and foremost, you’ll want a coffee maker, preferably an espresso machine. While you may use drip coffee to produce latte art, espresso makes it so much easier. It’s also a lot more satisfying drink that may help you save a few bucks each day.
Of course, you can purchase some inexpensive machines, but a device with at least 9 bars of pressure will assure a consistently drawn shot of espresso.
To steam the milk, you’ll need a pitcher with a handle. You’ll burn your hands if you try to use a container without the handle. Pour your milk as easy as possible; make sure your pitcher has a spout or indent.
You'll also need a thermometer; however, if you're not afraid of getting your hand heated, you can feel the bottom of the pitcher.
Along with it, you’ll also need a steam wand. Thankfully, virtually every espresso machine on the market has a steam wand, making this step simple.
You can buy a solo wand if you're attempting to steam milk for drip coffee or don't own an espresso machine with a steam wand.
Apart from that, you require milk, a cup, coffee, a latte tool or toothpick, and of course, your latte art ideas.
Steaming Milk Without a Steam Wand
If you don’t have a steam wand and want to practice your latte art at home, there are a few choices for texturizing your milk.
Using your hands
Simply shake some milk into a sealed container. Microwave it for no more than 40 seconds after removing the cover. Use caution because it will be pretty hot.
You may now pour the milk into your coffee while wearing a glove. It won't produce spectacular results, but it's an excellent way to start with latte art.
With the help of a frother
Milk frothers aerate milk by spinning a thin ribbon of wire that rotates by a motor.
To use this procedure, first heat your milk, then alternate between foaming the milk's surface and immersing the frother to integrate it. Making latte art with this approach works very nicely.
The best milk for latte art

Whole milk
These kinds of milk are the simplest to steam, have the most luscious textures, and produce excellent latte art. Choose whole milk if you want to make latte art at home as simple as possible.
Nonfat
Because nonfat milk has a different fat ratio than whole milk, steaming it is more complicated. You may even not require aerate nonfat milk if you have a steam wand with a high enough pressure.
However, you'll have to experiment to discover the appropriate way because heat alone will texturize it.
Non-dairy
The amount of time it takes to steam non-dairy milk at home depends on the brand. For example, sweetened almond milk and soy milk will texturize more quickly than unsweetened varieties.
Instructions
Step 1: Prepare
Grind and tamp the espresso without pulling it. Refrigerate your milk jug: the colder the milk, the more time you have to get the desired texture.
Alternatively, rinse it in freezing water, dry it, and place it in the refrigerator for a few minutes. Fill your milk jug to just below the spout with very fresh whole milk.
Step 2: Make espresso.
Make espresso and keep the cup warm on a hot plate.
Step 3: Froth your milk
It varies on the milk and your steam pressure, but milk foams best between 70 and 110 degrees. So keep your wand on low until the temperature reaches 70 degrees.
Once you've reached the ideal temperature, you'll want to turn up the heat. If you have a lesser pressure wand, you should proceed to full pressure, but you should hold back if you have a more powerful pressure wand.
The fact that your milk is softly swirling in your pitcher is a good indication that you have the proper pressure.
To create the foam, carefully drop the pitcher while maintaining your steam wand straight up and down. When the steam wand reaches the surface, you'll hear a faint cracking noise.
Step 4: Incorporate the foam.
After that, you’ll want to stir the foam into the milk. Submerge your steam wand in to produce that delicate swirl.
It will incorporate the foam into the milk, resulting in an even, aerated drink rather than a coating of froth on top.
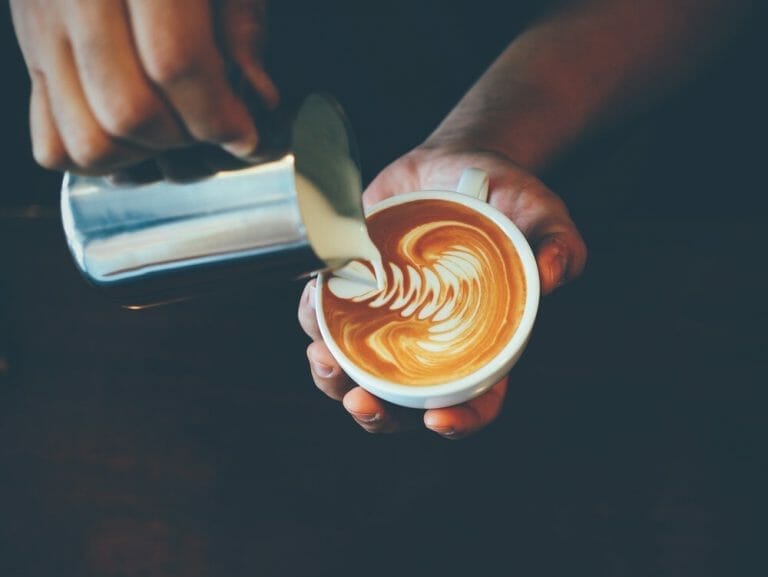
Step 5: Pour your drink.
Pour your espresso. Start from the top and draw a steady stream into your cup, aiming for the centre. You’ll want to finish off with a hefty pour that draws out any excess foam and gives you micro-foam.
Step 6: Use a latte tool or toothpick
Use a latte tool or toothpick to draw lines on the surface of the beverage. Draw specific patterns that reference images you like and repeat them. It is a great way to get creative and find your unique style.
Tips for making latte art at home
- Be patient and take your time.
- Pour slowly and think through each stroke.
- Use a pattern for reference and draw without stopping.
Can you learn latte art at home?
The answer is yes and no. I learned how to make latte art at home by watching YouTube videos of people making latte art. There are also books on the subject, but you might be less inclined to practice from a book.
However, making latte art at home is not just hand-eye coordination; it is also a creative skill. Artists don’t practice long hours to automatically become a master at their craft; they make mistakes that teach them what to do and what not to do.
Can you make latte art with regular coffee?
You can make latte art with espresso, not just coffee. Espresso is a concentrated version of coffee. The preparation for an espresso is a step more laborious than making a regular cup of coffee.
Can you make latte art with the Keurig machine?
Yes, if you have a Keurig machine that has the capability to steam milk.
How do you make latte art without a machine?
If you don’t have a Keurig machine and want to try making latte art at home, the best thing to do is to use a frother.
What is the best milk for latte art?
Whole milk is the best for latte art. Fat content and temperature are important factors in steaming milk, so it’s best to start off with whole milk.
Why do baristas use latte art?
Getting customers to notice their latte art is just as important for baristas as for artists. They want the customers to remember them and come back. It’s no wonder that baristas have pre-made latte art designs in their Instagram profile pic.
Does latte art make coffee taste worse?
Latte art does not make coffee taste worse than it does. It is the presentation that makes people think that latte art might make the coffee taste different.
What is the easiest latte art to do?
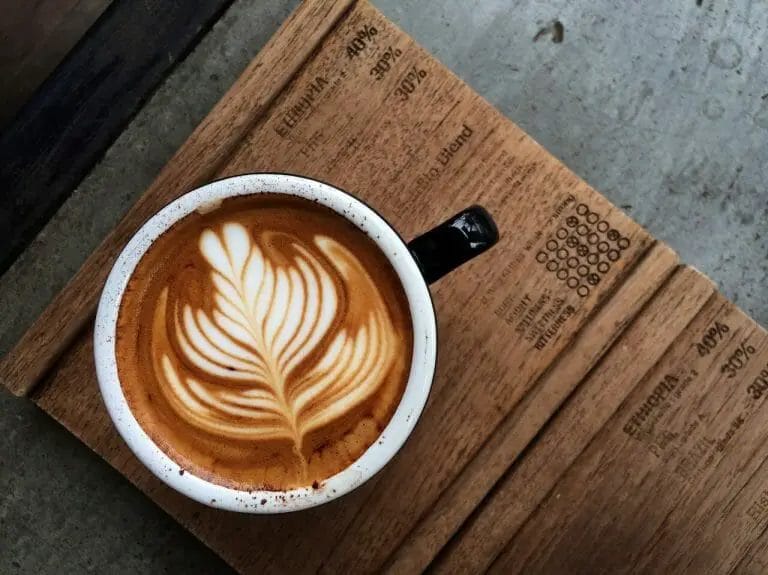
I personally think that the easiest latte art to do is a leaf. Not only is it simple, but it is also adorable.
How do you froth milk for latte art at home?
The best way to froth milk for latte art at home is by using a frother. You may use a whisk or a mason jar with a handle, but they won’t work as well as a frother.
How much milk do you use for latte art?
The amount of milk that you use for latte art depends on your preference. You may use up to ¼ cup of milk.
Final thoughts
Practice makes perfect. While you may not be able to produce spectacular latte art right away, with time and experience, you’ll develop skills that will blow your friends away every time you pull out a latte.
Keep trying and experimenting with some art on your latter until you get the right one!

