The Right Way To Decalcify Your Keurig Coffee Maker

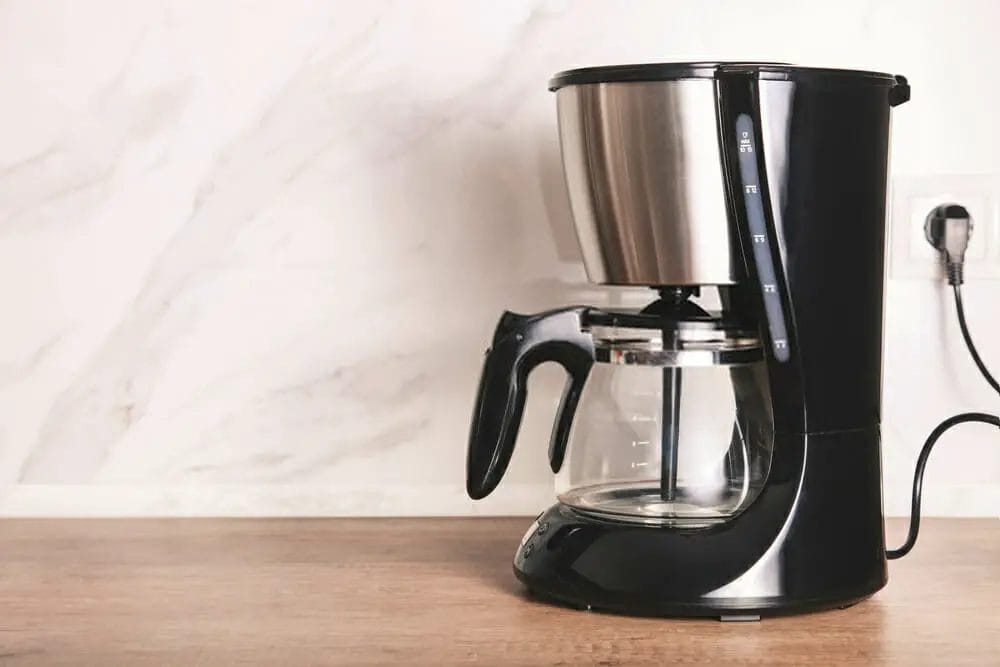
The Keurig K-Cup coffee maker is a popular choice for many people because it provides you with a good cup of coffee quickly and efficiently.
However, many people aren’t aware that this coffee maker also produces calcified deposits in the reservoir over time.
This buildup of calcium and other minerals can lead to clogged water tubes, resulting in an explosion or fire if not dealt with effectively.
You can avoid all of this with a little decalcification and maintenance.
This article will look at two easy ways to describe your Keurig machine, keep it working in top form, and eliminate the chance of a nasty mess. Let us get started!
Method 1: Using A Keurig Descaling Solution
In this method, you will need a Keurig descaling solution, a mug, and a sink. It is also convenient to use a large cup not to pour the water out now and then.
Keurig Descaling Solution is a safe and odourless solution that cleans and eliminates calcium and other deposits to keep the coffee maker in good working order.
It can be found in grocery stores or ordered online. It is one way recommended by Keurig.
Steps:
Empty The Coffee Maker:
Check that the Keurig water tank is empty and free of coffee grounds. We must also remove any Keurig k-cups that are remaining in the brewer. We can leave the cup holder and funnel inside for this step.
These components direct the solution into the spout, ensuring that the procedure is spill-free.
Turn off the automatic shut-off feature:
The cleaning solution must remain within the machine for a short period. Remember to keep the brewer running during the procedure.
Fill the coffee machine reservoir with a 1:1 mixture of cleaning solution and water:
Keurig recommends filling the machine halfway with the solution and diluting it with one part of water for cleaning its equipment.
Set The Machine:
Now that we’ve filled the reservoir with the cleaning solution, we’ll need to click the large cup setting, usually found on the machine’s button area.
Run the cycle by beginning to brew and then removing the sediments by pouring the water:
The solution will enter and work its way through the machine, breaking down any scale formation caused by mineral deposits.
We will notice sediments in our cup at this stage, indicating that we are removing the dirt from our coffee maker.
Repeat this procedure until the water tank is somewhat out of the solution:
Most Keurig machines will inform “Add Water” or switch on the light, indicating that the tank is nearly empty.
Allow the remainder of the solution to sit in the water tank for 30 minutes:
When the machine prompts you to “Add Water” or flashes a light, deactivate the Auto-off feature and leave the machine alone. This stage is completed, and the solution finally performs its magic within the device!
The machine should be turned on while doing this, according to Keurig. If the machine's "Auto Off" feature is enabled, we can access it by pushing the Menu button twice, then the button on the left until the device says "Off."
Pour away the leftover solution and thoroughly rinse the reservoir with clean water. After allowing the descaling solution to settle for 30 minutes, we want to ensure that it is completely removed from the machine before refilling it with clean water.
This time, fill the tank with clean water. After allowing the solution to sit, our coffee machine may have some of it inside, so it's better to wash it all away with clean water. It is a critical step unless we want an off-tasting coffee the next time we brew—which we don't!
Continue to brew it, then pour it out. You must repeat this step until the Keurig is free of the cleaning solution. We now have a clean Keurig, which will allow us to produce an even better cup of coffee!
Method 2: Using Water And Vinegar
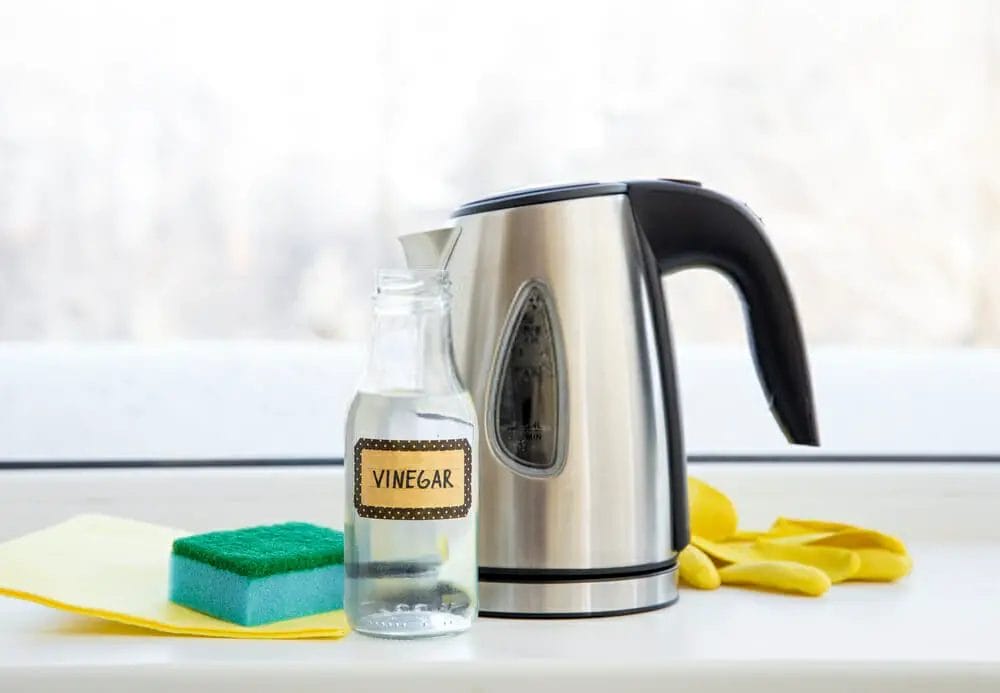
Replace the Keurig solution with water and vinegar. Because of its numerous applications in cooking, baking, and even cleaning, white distilled vinegar is considered one of the most magical household substances.
This method makes use of white distilled vinegar as a cleaning solution for our Keurig coffee machine.
Empty the Coffee Maker:
Begin by emptying the reservoir of any remaining water and removing any K-cups or coffee pods. Before descaling, use a gently damp washcloth to wipe away any residue.
Fill the reservoir with a 1:1 mixture of vinegar and water:
When using this procedure, keep in mind that you must dilute the vinegar. Cleaning the Keurig machine with pure or undiluted white vinegar may cause damage to the equipment’s inner workings.
We can also use apple cider vinegar to clean the machine, but it will require some extra rinses to remove the scent and flavour. Citric acid is another common household chemical that you can use in descaling.
They are often found in supermarkets and are used as flavouring agents in food and beverages.
Place A Mug On The Tray:
Using a large mug prevents spills and overflowing. We’re aiming for something with a capacity of roughly 10 ounces of water. When you finish, don’t forget to select the large cup option!
Complete the cycle by starting to brew and then removing the sediments by pouring the water out:
Because white distilled vinegar includes acetic acid, it effectively dissolves scales in the Keurig coffee maker. The majority of the scale forms due to the deposits found in water.
The solution will flow through the machine during this stage, causing sediments to form in the cup, indicating that we are removing the filth from inside the machine.
Allow the remaining vinegar solution to sit in the water tank for four hours:
Unlike the previous approach, we recommend that the solution sits for a more extended amount of time. This step will let the solution work its magic on the insides of our coffee machine, dissolving any scale that has formed.
Drain the remaining vinegar solution and clean the machine reservoir:
Remove the solution after four hours in the machine before refilling it with clean water.
This time, put clean water in the water tank:
Ensuring that we don’t have an off-tasting coffee is critical the next time we use our Keurig coffee maker! We don’t want a sour-tasting coffee, therefore don’t omit this step!
Using apple cider vinegar, the machine needs to go through more rinsing cycles to remove the excess flavour. However, there is no need to be concerned because this will still efficiently clean the coffee maker.
Repeat this process until there is no longer any vinegar solution or smell inside the coffee machine:
At this point, we can drink freshly brewed coffee made with a newly-descaled Keurig machine.
Conclusion:
There you go! With these simple steps, you will be well on your way to enjoying the freshest taste of coffee! It is always necessary to keep our appliances in good working order and in good shape.
Cleaning the Keurig coffee maker is already an accomplishment because it only needs to be done every 3 to 6 months - no daily trouble! Cleaning a Keurig coffee machine is essential because it will directly affect the taste of our coffee.
We can experience a smoother, less bitter taste from the beans if we maintain our products well. Go for it!


