How To Steam Milk For Coffee?

When you start playing around with brewing craft coffee, you might yourself engrossed in creating specialty drinks like lattes and cappuccinos from your favorite coffee shop.
With frothed milk, you can create a wonderful creamy texture and an intense and sweet taste. For many coffee enthusiasts, steamed milk is the go-to for their morning pick-me-up. Thus, this post will explore how to steam milk like a pro.
Before you begin, you must read and understand this post thoroughly. Reading through the tips here will help you make your steaming experience more enjoyable.
It is also important to note that brewing good coffee requires attention to detail and a particular skill.
The best way to learn how to steam milk effectively is to practice at home.
Why do milk and coffee compliment each other so well?
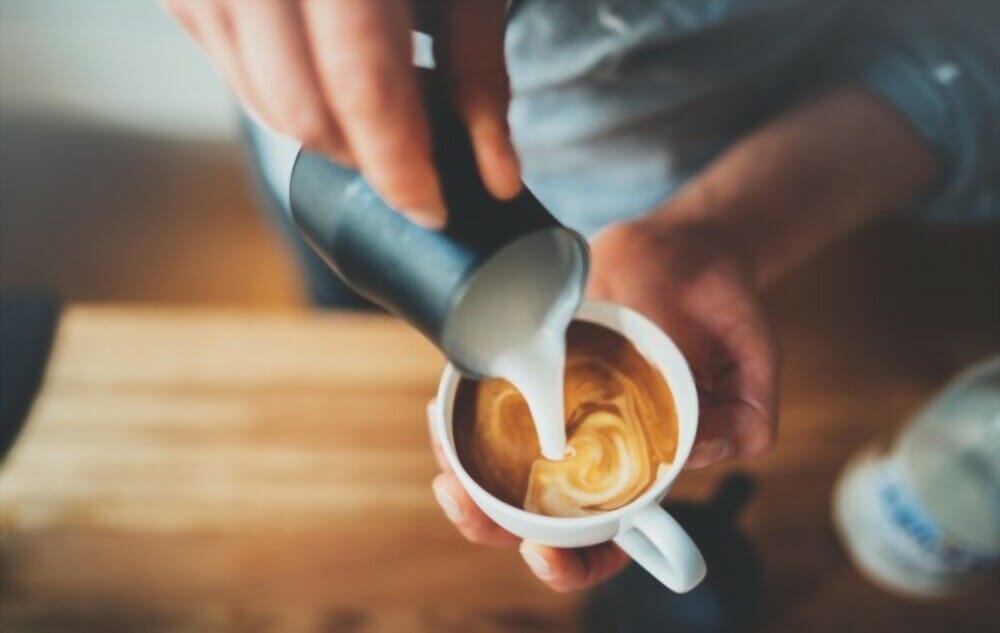
The simple answer to this is that milk and coffee are both great food for the senses. Milk can make coffee taste better because it adds a layer of complexity.
Milk is a delicious addition to coffee. It enhances the flavor of the coffee and highlights some of its natural notes.
When you drink a cup of coffee or think about your morning espresso, you are ingesting one of the most flavorful drinks in the world.
Coffee has a sweet taste which can be enhanced to a sweeter level while steaming milk for lattes.
There is science behind this:
During the steaming process, high pressure causes milk to expand and create foam. Furthermore, the protein helps sustain air bubbles, whereas lactose has a sweetening effect.
While it may seem simple to steam milk, such an undertaking is not the simple one.
Would you want to know the secret of baristas’ rich foam in your latte?
Or do you want to find ways of steaming your milk apart from the steam wand?
This article will help you with both.
FROTHING VS STEAMING MILK
Froth and steam milk are two different methods of creating milk foam. The difference between the two is the method is used to create froth or steam. They both have their advantages that make up the difference in quality.
FROTHING MILK
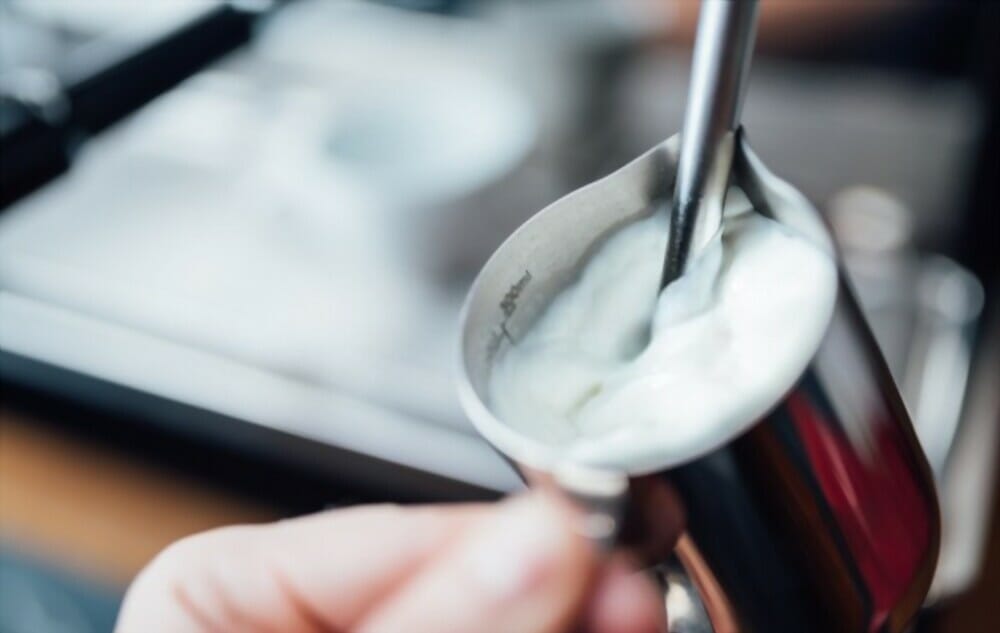
Frothing is adding air bubbles to milk, either cold or hot, by agitating the milk by using a frother, wisk or any other manner.
It is done with a frother, which is a type of electric mixer that uses hot air to create froth or foam in milk. This method of creating froth can be done cold or hot.
STEAMING MILK
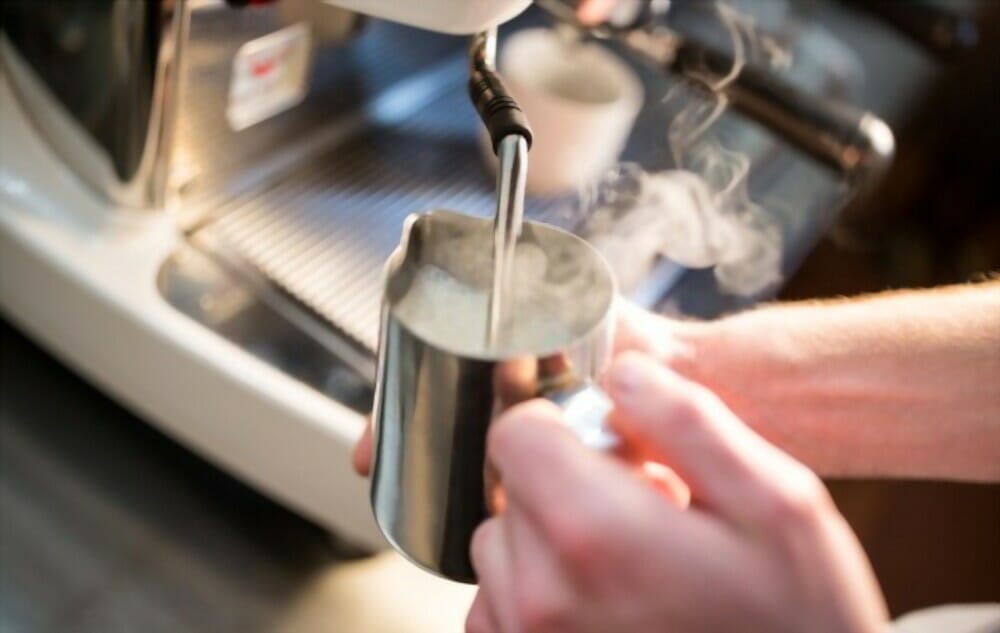
Steaming is the process by which milk is heated in a sealed container. Typically, a blast of hot steam is made and then poured through the coffee.
This creates a thick foam on top of the coffee. Steam is much faster and easier than frothing.
When milk is heated, the air is drawn in and incorporated into the milk creating a creamy texture, often called microfoam.
HOW TO STEAM MILK LIKE A PRO?

The technique for steaming differs a little depending on whether you are making a Latte, Flat white, or cappuccino, but the basic steps remain the same.
STEP 1: FILL THE JUG WITH MILK
The first thing is to fill the jug with milk. To give your milk a foamier texture, use whole milk over skimmed or semi-skimmed milk.Skimmed and semi-skimmed milk contains less fat and thus produces lesser foam when steamed.
If you want to make a cappuccino, you can also use a different type of dairy like coconut or soy creamer, which is easier to froth than cow's milk.
STEP 2: MILK STRETCHING
As you heat the milk, it will start to boil, creating bubbles. At this point, you need to use a milk stretching technique.
To do this, keep the milk in a pitcher, place your steam wand just below surface , run for 15-20 seconds, let rest for 20 seconds. repeat for 10-15 reps. should be able to do 3/4 of length of tube every time! (45 sec).
Hold your hand at an angle and gently pull until the milk starts foaming and forms a thick layer of foam.
STEP 3: THE SPIN
Once you have stretched the milk, pour it into a container and place the jug on top. This will allow you to spin the milk while steaming it.
The spin will incorporate a lot of air into the milk, making a thick stream of foam. Like stretching, spinning requires a good bit of arm strength, so make sure to rest in between.
The spin is necessary to create a vortex that will make the steaming process easier. Start by spinning the jug in a circular pattern and bring it down until you reach the bottom of the jug.
Then, place your other hand at twelve o'clock for a more effective spin. When you're done, you should see a small layer of foam on top and milk beneath that has begun to form micro-bubbles.
STEP 4: REST AND POLISH
The temperature should be checked often. Boil until it reaches 140F or is too hot to touch. Swirl milk around to get rid of bubbles and make creamy looking. The milk should be shiny and creamy like melted ice cream.
STEP 5: POUR INTO A TALL CUP
You can then pour the milk into a tall cup for your latte or Flat white. Remember to use a spoon to push the froth to one side of the cup.
This will make it easier for you to pour your coffee over it. Before pouring, make sure that you have extracted the coffee for you to get a nice foamy top on your coffee.
COMMON MISTAKES

Mistakes often made when steaming milk include:
USING COLD MILK:
This is the most common mistake, but not such a big deal. When you use cold milk for steaming, it will make the best foam, but there’s a downside – it can lead to inconsistencies in the foam texture and amount.
Overheating your milk will also cause inconsistencies. So if you want to be consistent with your foam texture throughout your batch, use warmed milk instead of cold milk.
LEAVING MILK IN STEAMER FOR TOO LONG:
Another common mistake made by a lot of baristas. Overheating your milk not only damages the texture but can also create an unpleasant taste.
If you find that your milk is taking longer than expected, take it out and try again later.
USING THE WRONG AMOUNT OF MILK:
People have a tendency to make the mistake of overfilling their steamers with milk.
This not only makes it difficult to properly extract your coffee but also causes an increase in the amount of time you spend steaming your milk.
There is no perfect amount for every type of steaming, but you should have enough space to stir and spin the milk without spilling it all over your countertop.
NOT CREATING A WHIRLPOOL:
One of the most essential aspects of steaming milk is creating a whirlpool in your jug. This helps to remove tiny air bubbles and also reduces the amount of foam produced during steaming.
If you don't create a whirlpool by stirring the milk, you risk cutting off foam from the sides and top of your jug, which will show on your latte when you pour it into your cup.
PULLING AIR FOR TOO LONG:
When steaming milk, you should avoid pulling the air in for too long since it can lead to a looser texture and possibly even make you spill some milk.
Steaming your milk for about 15-20 minutes is generally enough time to pull the air in and create a nice foam texture.
HOW TO STEAM MILK WITHOUT A STEAM WAND?
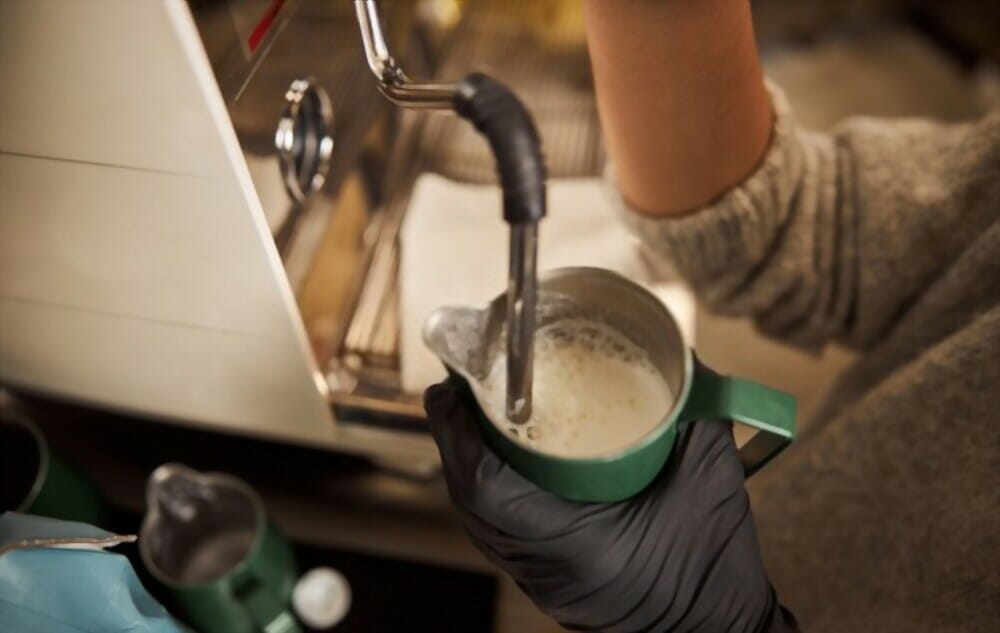
The good news is that you can still make the perfect cup of coffee during the morning without an espresso machine.
We’ll tell you about some of the essential equipment needed and some of them that can be improvised with household items.
AUTOMATIC MILK FROTHER

The first item you will need is an automatic milk frother. The most common electric frothers are single or double-walled and can be made of plastic, aluminum, and stainless steel.
This is the best option for frothing milk when you don't have an espresso machine. It is also the only option that does not necessitate you to preheat milk as the other options do.
There’s a variety of dairy options you can choose from. You can have your milk cold or hot, and if you want to have a latte, you can add espresso to it.
The design of the frother is to ensure that the milk gets heated to the right temperature for a perfect foam texture.
There is also a tank on top that will allow you to make your frothed milk without spilling it all over your kitchen countertop.
You can then pour it into your coffee without having to worry about losing any of your precious foam.
HANDHELD FROTHER
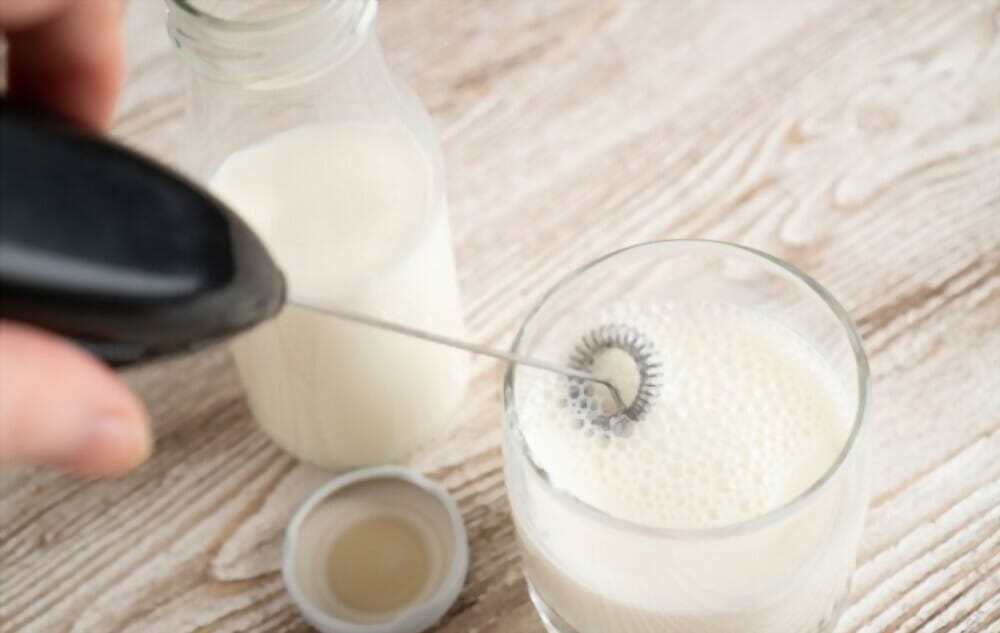
A handheld frother is a quick and easy way to turn hot milk into foam. It's less expensive than an espresso machine, but you may have to compromise on milk texture and temperature.
As its name implies, it can create a lot of bubbles but not so much silkiness. All you need to do is submerge the frother in milk, turn it on. The milk significantly increases, making giant bubbles.
FRENCH PRESS
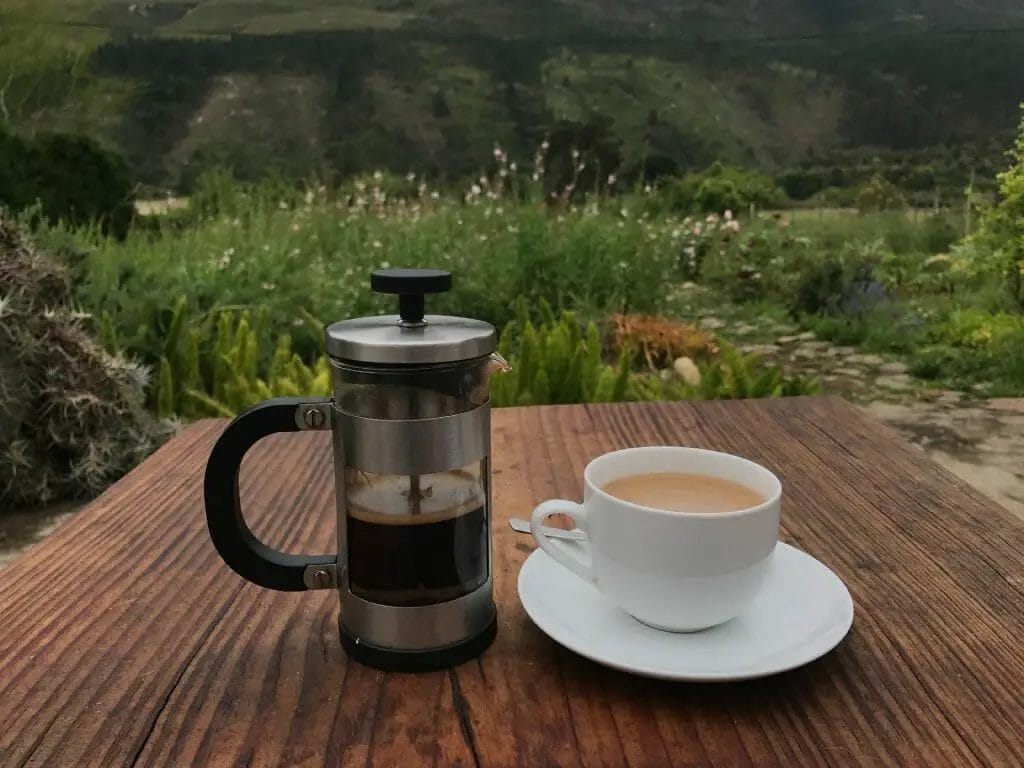
If you are a big fan of the French press, which means steeping your coffee grounds in hot water, and you would like to have a creamy cup of coffee, then there's only one more thing you need to do - the milk.
Of course, it can be done without a frother, but the froth is not quite as perfect as with an espresso machine or electric milk frother.
The procedure for making your perfect foam is straightforward:
- Preheat your Milk.
- Pour the milk into a French press.
- Close the top of the Press
- Use the plunger to repeatedly push down and pull up on the plunger until you have doubled your volume of milk and created a microfoam.
Note: Be cautious not to use too much milk to avoid any messy cleanup
STOVETOP FROTHER
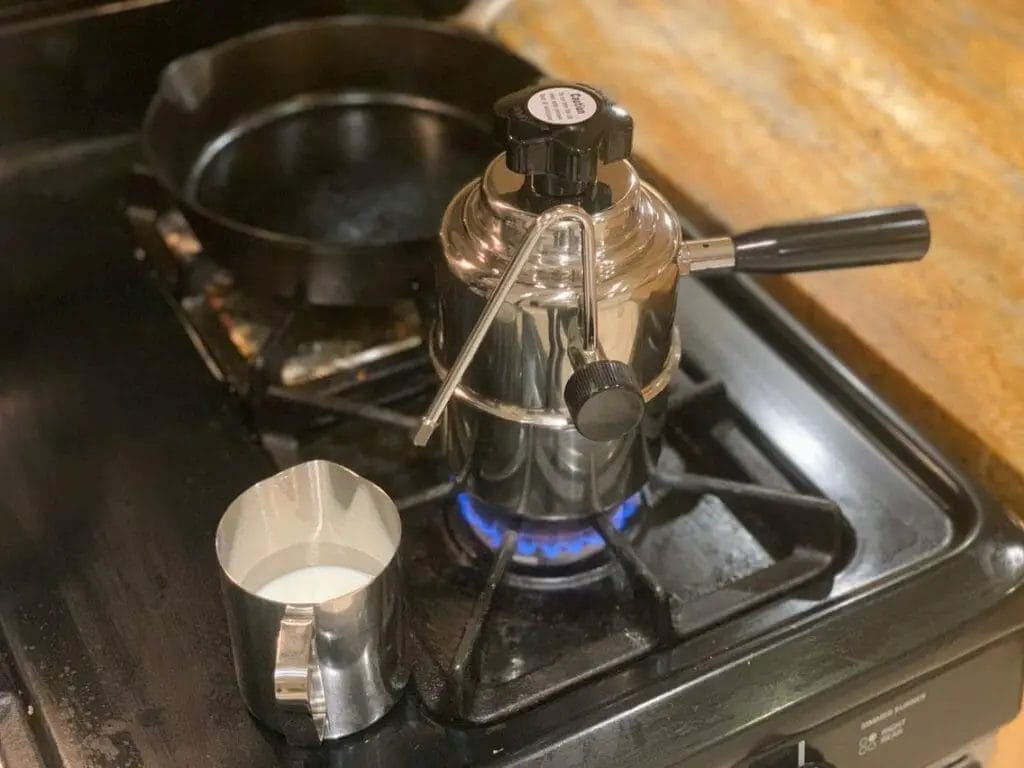
The stovetop frother is a small device that can be placed on top of the saucepan and has a frothing disk with holes.
The pressure created by the boiling water makes a small amount of milk into foam. This is an inexpensive way to make good foam, but there is always the risk of scalding yourself if you don't use caution.
MICROWAVE
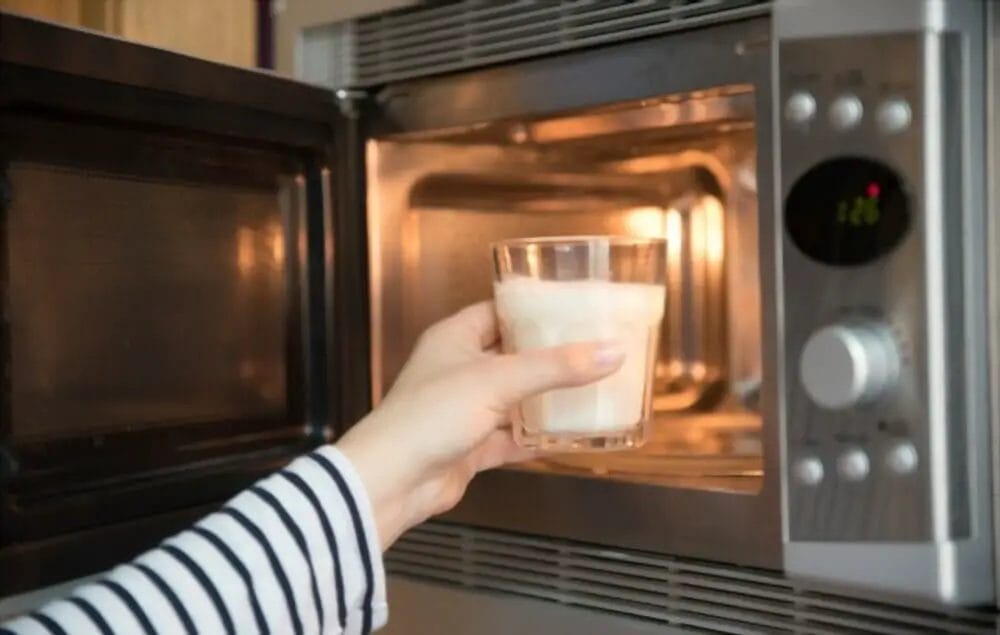
Pour the milk into a jar with a lid and shake it vigorously. Then heat it in the microwave for 60 seconds.
Or you can heat the milk first and then use the pulling technique where you pour it from one jar to the other until a frothy consistency is reached.
How can I steam milk without a machine?
Many people who drink latte on a daily basis often wonder how to steam milk without a machine.
It’s quite easy and makes it possible to enjoy an excellent cup of coffee at any time.
The first step is to get the ingredients you need to create your steamed milk. Use whole or skimmed, fresh or powdered milk as you prefer but make sure you have the right amount of it.
You might also consider using soy, almond, or rice milk if dairy products don’t suit your diet.
Put the milk in a saucepan and heat it using a high heat until it starts to steam.
You will have to keep an eye on the temperature as you won’t be able to pull in the steam for too long.
If you set the steamer too high, the amount of foam may not be enough or can even create foam but burn it.
How do Starbucks baristas steam their milk?
Starbucks baristas steam milk using an espresso machine. This makes as much froth as possible and is a complex process. The entire process takes about 30 seconds and will make your coffee extra creamy.
Is steamed milk and frothed milk the same?
Frothed milk and steamed milk are not the same. You add air into frothed milk but not into steamed milk.
How long should you steam milk?
It takes about 20 seconds to steam milk in the microwave. If you use a saucepan, you can set it at a higher temperature and give it more time.
Can cold milk be frothed?
No, cold milk cannot be frothed. You need to heat the milk to a certain temperature in order for it to froth.
Can I make steamed milk on the stove?
You can make steamed milk on the stove but only if you are very careful.
What’s the point of frothing milk for coffee?
There are a lot of reasons why people enjoy frothed milk. The underlining purpose behind frothed milk is to create a creamy texture.
Do you froth milk before or after coffee?
A lot of people drink their frothed milk after they have had a cup of coffee. Although this is acceptable and may not cause any issues, it is not the main purpose behind the frothy milk.
Can you add sugar to milk before frothing?
No, sugar cannot be added to the milk before frothing.
Can I steam milk in a mug?
Yes, it is possible to steam milk in a mug using a stovetop.
How long does it take to steam milk?
It takes about 20 seconds for steamed milk on the microwave but can take up to four minutes for the saucepan. The frothing takes about 45 seconds. It all depends on your preference but usually around 60 seconds should be enough time to create the perfect texture.
Conclusion

We hope that you've had a great time reading this article and that you will now be able to make the perfect froth for your morning coffee. After all, who doesn't love a good cup of coffee every day?
You can follow plenty of techniques to create steam at your convenience, but the basics are essential and can help you avoid common pitfalls.
If you've got any feedback, questions, or concerns, don't hesitate to drop us a line in the comment box below. We look forward to hearing from you.


